Saturday 24 December 2016

Merry Christmas!

Just having arrived back from Midnight Mass at St Mary's I find the family fast asleep , however as I am wide awake after such a lovely service I will share a few Christmas photos with you.
We have a set of twinkling lights on the outside of the house... Very Pretty as you come home in the dark.
 
 We have a wonderful giant tree, the last at Haddenham Garden Centre on 20 December when we got back from Paris, we were there all 4 of us by 9 am on the dot. ONE tree left but what a marvel!
 We decorated it together with most of the decorations bought, made and gathered over 20 years...
No tinsel this year.
I crocheted more ''starry'' snowflakes and here they are being blocked and stiffened with PVA and H2O.
 
Pippa got to wear a flashing sparkly bow.... She did keep it on for most of the day on 21 December...

 And for Lucy an Elf hat , but she was so NOT impressed....


A lovely dancing lady at GX sent me her recipe for gingerbread which I tasted at the GX dance and it was so delicious, so much better than Mary Berry's recipe! Which we sued a few years ago when we made a gingerbread house. This lady had made a tree out of stacked stars of decreasing size and it was both charming and so yummy!

 This is Miss E's pan of mixture after leaving it in fridge overnight rather than an hour...
We has to ''mine'' it out of the pan by chipping and scooping away at it all.
She was too busy eating it as it was... But after warmong it up a bit she rolled it out and cut lovely shapes.
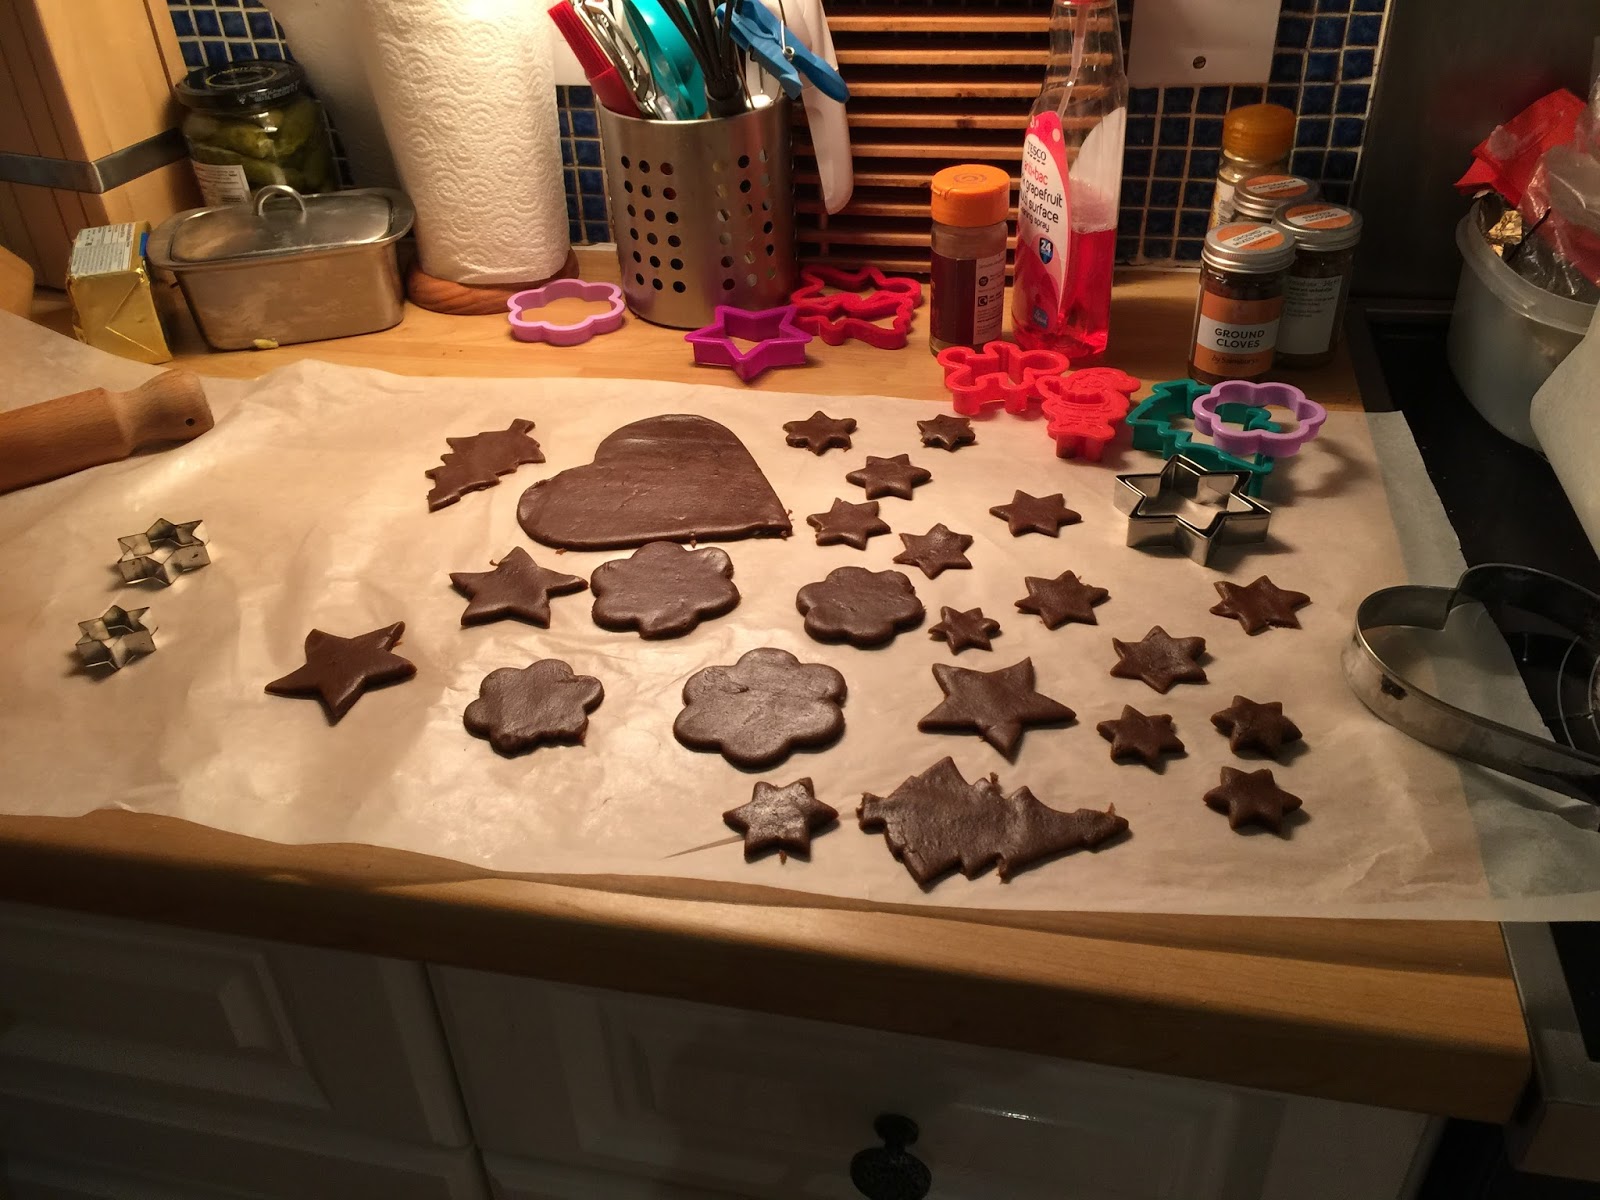
They looked like chocolate before baking. Glossy dark brown.
 
And after baking here some of them are...
Now ''yesterday'' was Christmas Eve and I spent the morning happily crocheting to Netflix to make the last few stocking-filler surprises..

I was making covers for clear plastic 2 part bauble balls from Hobbycraft to fill with 3 chocolates and then make a cover so they can eventually hang on the tree in coming years.
I had made some earlier for friends but this morning I was inspired to create a new pattern and am very happy with this version.
I


You need the clear bauble from Hobby craft, these come in boxes of 6, the smaller size.
A 4 mm hook, some lures thread/cord or Anchor Artista- I used gold- and some DK yarn in colours of your choice. Can be wool, silk, cotton or acrylic.
I had remnants of pine green and red in premium DK acrylic.
You are going to make two halves, little bowls if you like with an overlapping section where one half has little loops and the other you sew large beads or buttons on.

Chain 4-5 and close with slip stitch, chain 4 and work 15 trebles ( UK terms being used here) into the ring in the gold yarn.
Fasten off and attach red yarn, work 3 chain in a space between trebles , then work 1Treble, 1 chain into the next space between trebles and repeat this all the way around , close with a slipst into the 3rd ch and fasten off.


Choose a new colour, in my case pine green, fasten on and work 3 ch and 2 Trebles into a ch space, then work 1 Treble into the next 3 ch spaces, * work 3 Tr into one ch space and 1Treble into each of the next 3 ch spaces, repeat from *to finish with a slip stitch into the 3rd ch.
Next row: ch 1 and work 1 double crochet into each stitch all around, ss and fasten off.
 The next rows vary for each half.
For the buttoned half you attach red or gold and work 2-3 rows dc all around.

For the button hole half  if using gold you work 1 row dc, 1 row *3dc, 2 ch and skip 1 dc, 3 dc and repeat the 2 ch and skip 1 dc all around.
For the red which is thicker you can work 1 row dc then the next row work 1 dc, **1 ch- skip the dc below, 1 dc ,*** and repeat from **to ***  all around.

Make the two halves and sew in all ends, then sew large beads or small tiny bells or small buttons onto the buttonned half and check they fit into the buttonholes of the other half.

Fill bauble with chocolates, cover with the two halves and thread a ribbon through the hanging sections of the plastic bauble.
Ta dah! OR voila! if you prefer.

I usually use either 4 large beads or 6 tiny bells.


A slight variation in green glitter thread with red and pine green and the two halves worked as opposites with the button loops and button bands in the sparkly green lurex and large gold beads as closures. These fit 3 ''Celebrations'' Chocolates or 2 liqueur choccies.


WISHING YOU ALL A VERY MERRY CHRISTMAS, enjoy your festive days.

Sunday 13 November 2016

First time using an overlocker to make a garment- conquered the FEAR!

A cowl jersey top from a magazine article pattern in SEWING STYLISH seen somewhere in August 2016. It's two rectangles really.
Finally conquered the fear I had of the new overlocker I got for X-mas last year. I did sew by about June, 6 months later! First it was samples and so on and I HATE the noise it makes but the sewing is so good and the speed is amazing.
Back of the top. Loose and perfect for work or dancing. Cotton jersey. Very fine.
 
Neat overlocker stitching and finally have hand finished the ends and sewn them in neatly.
those long overlocker twisted bits you have to have.

It's simple I know but am quite proud of this anyway.

A Liberty Print Shirt - back to a bit of sewing.

For many years now I have yearned to make a Liberty print shirt and I had the fabric in the attic for many years, bought in the 1990's for a summer dress I think.
Then finally the other month I just DID it. I used VOGUE pattern 9127.
I made a fixed collar and cuffs instead of the changeable ones.
 
I added a contrast as the inside yoke and the inner collar stand and cuffs sort of Boden style.
Although way back in the 1980's when I sewed shirts I used to add contrast collar, cuffs and front bands too.
The sleeve placket is beautifully designed but a bit wide and big for me.
Possibly also because I did this in contrast also.
 
 It's a superb fit and really comfortable. I made a size 12 and it's a ''very loose fit'' Vogue patterns style.


 And am loving the tortoiseshell buttons!!! Quite proud of my sewn buttonholes for the first time in many years also.


Colourful African flower crochet bag

Hi there, today is a brief interlude of colour before we continue the cabled throw.
I made this as a ';'dog walk bag'' as the old one of granny squares made in 2005 finally fell apart with all the chewing and use it had over all those years...
This is made of African Flowers for which the pattern can be found here:
http://heidibearscreative.blogspot.co.uk/2010/05/african-flower-hexagon-crochet-tutorial.html

https://www.google.co.uk/search?q=AFRICAN+FLOWER+CROCHET&espv=2&biw=1536&bih=1101&tbm=isch&imgil=8Tu5ZsKA7edmOM%253A%253B_OZXvxh8o3ERVM%


I used DROPS Paris cotton yarn and a 5mm hook.
I attached the hexagons in the as-you go method at the corners but then sewed the sides together also as I wanted a solid fabric for this bag.
The bag will hols a water bottle and bowl for the dog, my phone for music as we walk and ''pick-up'' bags...

For the lining I drew around the connected hexagons 
onto some lining fabric I had with a water soluble pen. I added a 3 cm seam allowance all around and sewed a strip - 8 cm wide  and the full circumference of the top of the bag -folded in half and seamed into the top of the inside for the drawstring.

For the across the body long strap I crocheted a chain and then worked a ladder of 1 ch and a double treble repeated across the length with a dc row to finish.
I sewed a fabric lining strip to fit into the ladder gaps and threaded it through then sewed in the ends and sewed this to the sides of the bag.

The hexagons laid flat.


Here are the colours I used, I do not have all the labels but for the ones I have these are the colours from DROPS PARIS:

 
 FROM LEFT TO RIGHT:
dark turquoise = colour 10
pale turq.= 02
royal blue=09
olive green
deep pink
bright pink=06
deep coral=38
paler coral
The 2 hexagons at the top form the flap of the bag.
I crocheted the sides together with the dark pink.
And made a cord by chaining and slip stitching back to the start chain.
A small dc square sewn together is the guard section that holds the drawstring cord.
These were fed through the channel sewn into the lining and the ends knotted.
 front
back
 
the lining is rather fun too...
 
the lining was hemmed by machine and then hand slip stitched into the crocheted completed bag.


VOILA! A colourful fun new dog walk bag!