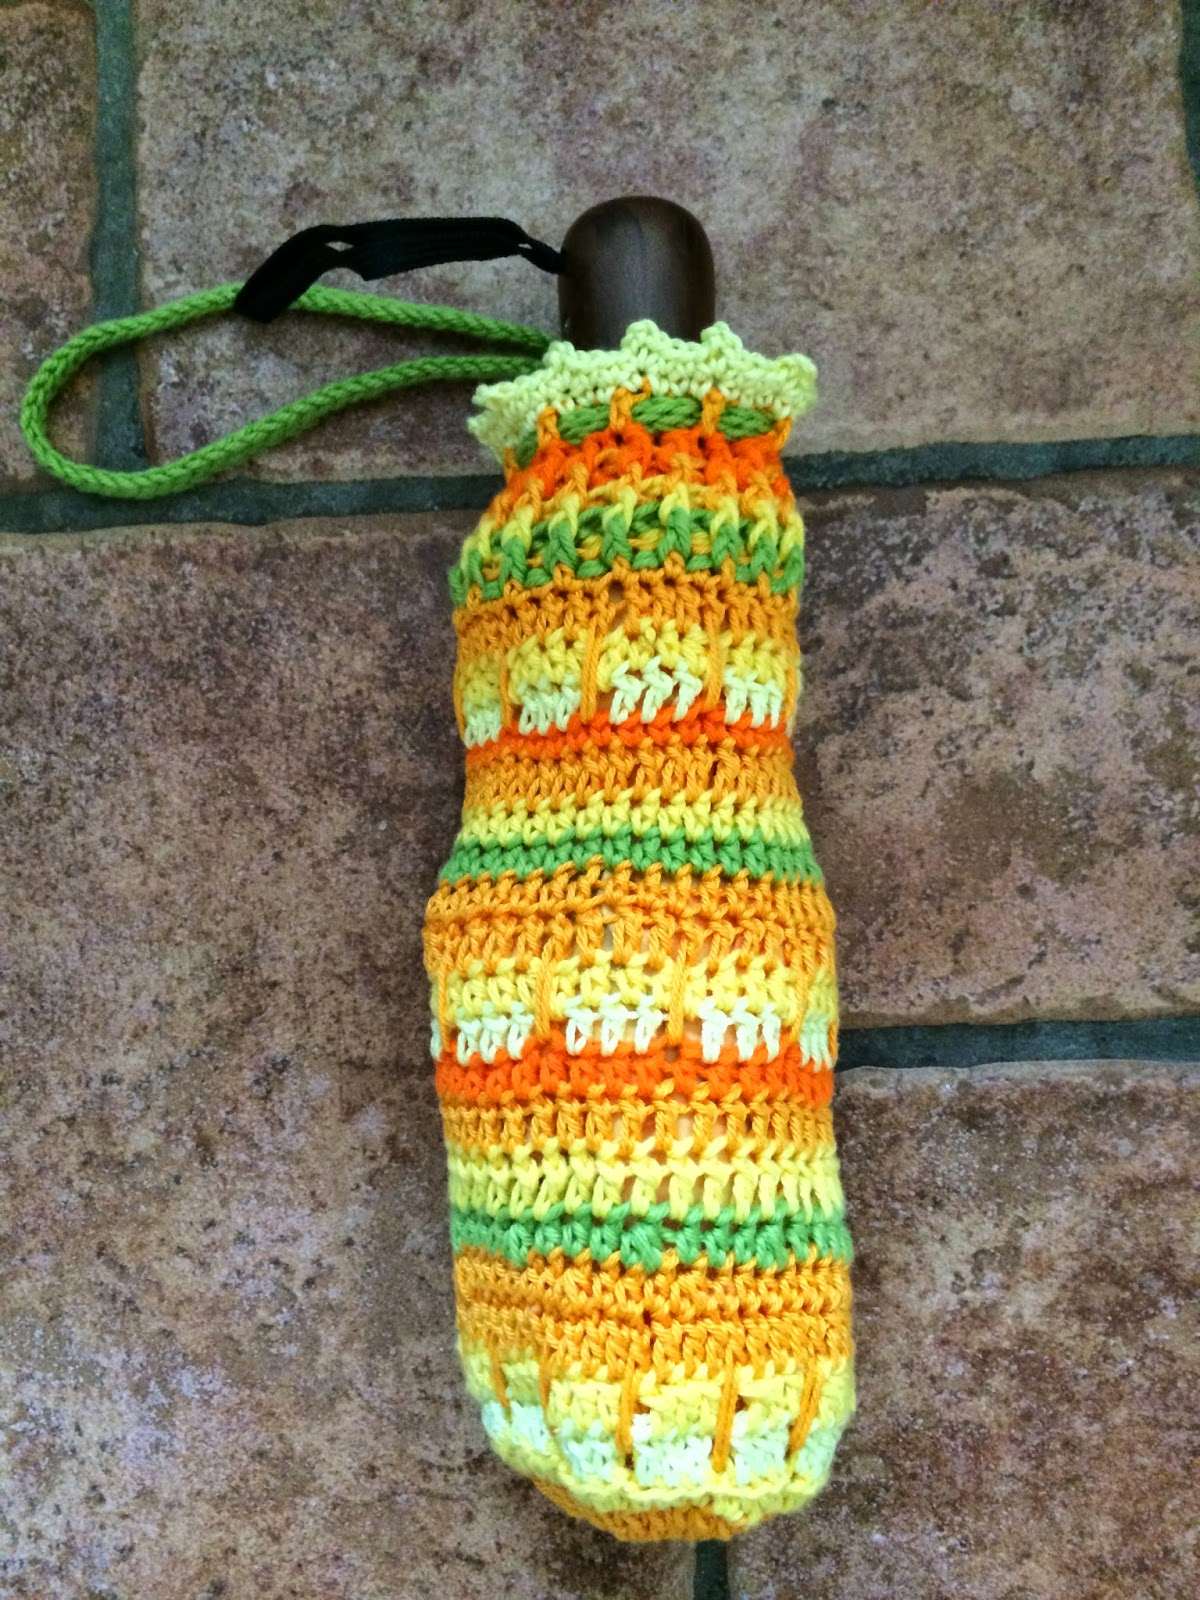
Hi guys, still housebound and still not sleeping well due to those dastardly ribs but I've had my eye surgery so left and right will be functioning the same way soon and am recovering much better from the surgery than the silly fall I had! Here's my new Rowan baby merino and silk yarn all made up into a comfy cosy cowl in the geometry pattern from Simply Crochet issue 17. Took 2 balls, 4mm hook and 15 repeats of the diamonds.
On my ravelry project page for this I explain how to read the crochet work so you can stop reading the paper pattern and just get on with it while watching tv? I made extra notes to help you:
http://www.ravelry.com/projects/merrystitcher/lacy-cowl-2
Being home and studying has been good but you also need a break and I thought I 'd do a Bank Holiday demonstration/ tutorial on a stitch pattern that we'll explore together , yes?
You will need a DK yarn and 4 or 4.5 mm hook (or a sock yarn with a 3.5 or 4 mm hook)? And Inside Crochet magazine : issue 53, we're going to try the Vicky Brown ripple shawl?!
I dug out some DK yarn: Sirdar Escape I think it is and a 4 mm hook to have a go at this intriguing stitch pattern which I love the look of! So that's why I bought the mag, as well as the articles of course.
We're going to do chains and dcs and trebles and a stitch called front raised dc, which is a dc worked round the stem of a treble in the row below: easy peasy!There's also quite a lot of COUNTING involved so I need you to be wide awake and not distracted for a while? The terms I'm using are
UK terms by the way!
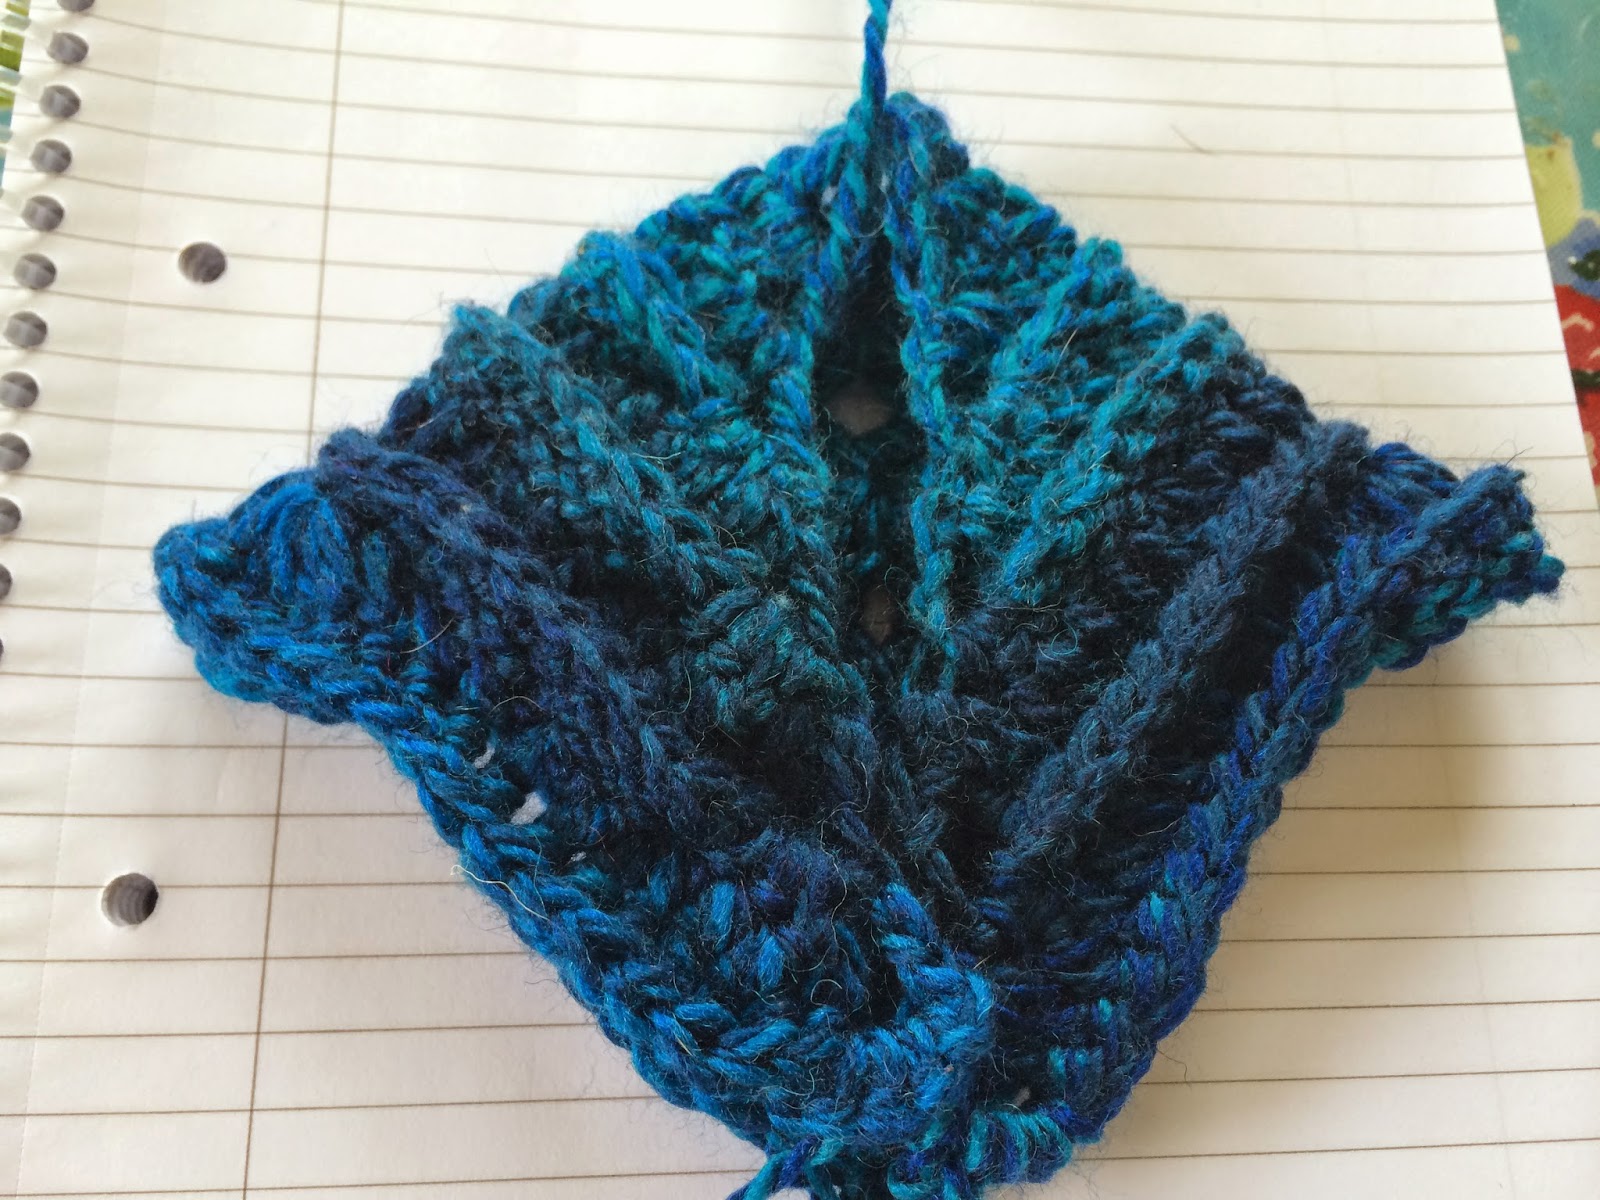
This is not a tute to do with the TV or a film, but it's a challenge that's worthwhile as we get a fun shape going. It reminds me of mocking bird wings from the recent film: Hunger Games Catching Fire?
This is the inspiration and the pattern in the magazine, but let's make a neckwarmer in a soft DK WOOL?
This is what I was thinking of? One of those cosy things to wear inside the neck space of a coat?
mine's thicker and sturdier being made of DK and I'm lining it with a piece of aqua-green fleece and adding a few buttons on the back for extra cosiness
Can you see the wings?
Ok start with a chain 7.
Then follow pattern for row1.
End of first row.
Then row 2: see photo of what you should have at end of row 2.
Row 3 finished, as per pattern.
Row 4 uses those FRONT RAISED DOUBLE CROCHET stitches, you can't see what they do yet as the ridge appears on the reverse.... You stick the hook from right to left behind the stem of the Treble below as per the photo? Then draw up a loop and finish your dc in the normal way.
PULL loop on hook, yo and pull through 2 loops on hook, FRDC made.
See? This is where you put your hook for this stitch, this is the only new bit to do?
I love these rows, they work up really quickly and the ridge is most impressive on the other side.
4th row completed.
Turned over, showing the ridge formed on the back.
See ridge!
Now the next row- - we work Trebles into the top of the V's lying at the top of those dcs just worked, but you do need to look for them. It's NOT those ridge stitches, it lies further back.
In this photo I'm trying to show you see?
There's a few trebles already worked at the far right, we've gone round the point where we always do the ( 2 Tr, 2ch, 2Tr) group into the central chain space, and now coming back along the other side.
5th row completed: see those trebles after the ridge in photo below.
At this point I found an error in the printed pattern: it omits to say that at the end of every even row you work the 2 dc then a ch and then a dc into the turning chain.( row 6) It's the ''chain'' that's been left out but you need it as in subsequent rows you work into the chain space and witout a ch you wouldn't have that space !
( by the way at the end of even numbered rows it's 2 dc , 1 ch and a dc into the Tch, at the end of every odd numbered row it;s 2Tr, 1ch and a Tr into the Tch) a Tch being the turning chain.
And it's all beautifully symmetrical around the 2 ch space at the point of the triangle so it also helps to remember that.
I'm adding the ch in purple into the pattern here: sorry for the poor photo.
This is after completing row 6: there are now 2 ridges and I've chained the 4 to start row 7...
Please do notice the back side is quite flat?
About to start row 7: as above and below, straight rows of trebles.
Row 7 completed below. The yarn is variegated and is changing colour, I haven't changed it.
Row 8 creates the third ridge and at row 9 we are starting to have to count carefully as decreases and increases are made to create wavy lines and bulges.
Here's the third ridge from row 8.
Row 9: Here are the skip 1 st, 1tr worked 4 times....Just after working a simple 5 Tr along, ie 1Tr in each stitch.
Then after the decrease comes a whopping 5 Tr shell all in one stitch, and not only that BUT you do it TWICE!
So a HUGE bulge is formed thus...
End of row 9 seen from both ways?
And after the ridge created by row 10...
playtime: it could be a fingerless glove! Or a cape for a doll or teddy bear?
Onwards: need to really concentrate for row 11 and do what it says in the pattern, in both rowa 10 and 11 though that ch is still being omitted at the end of the row...?
Row 12 is a relief in both senses of the word! Quick and easy and requires little concentration now , bringing crochet relief and textural relief : it's the 5th Ridge.
Row 13 is a major event as lots of extra things start finally happening and I recommend you WRITE it OUT IN FULL separately( that is what I actually did as I got it wrong first time it was not symmetrical so I knew I'd gone wrong) to help you do this one as it's not written out helpfully - personal opinion- in the magazine? You start with some instructions, then you leap to some other instructions on a previous page from the asterisk and then you do that bit twice and then you leap back to the page you were on: get the picture? !!!
Or think of it as in sections:
part 1 is the ''introduction'' at the start of the far corner, part 2 is the chevron ripple part: you do a 5Tr bulge, then a skipping section 8 times, then another 5 Tr bulge TWICE, then another 8 skip routine and end with a 5Tr single bulge.
Part 3 takes you to the point with a plain 5 Tr and the usual in the 2ch space at the point routine, then back on the other side. So after 5 Tr you do the part 2 again.
Finally you end with a repeat of the introduction: the 3 Tr and the ch space stitches.
So it's in 5 parts: intro = part 1, then part 2, then central part 3, part 4= part 2 and part 5= part 1.
And that's just row 13.
It's given us those extra ripples and bulges hasn't it?
This is the back view...
And this has had the row 14 added for the next textural ridge...
At this point it fits as a cosy neck-warmer?
And weighs : 35 grammes.
In Sirdar Escape DK terms that means you'll need a length of about 77 metres for this wee neck-warmer cosy. In the 1970's in Holland my dad used to wear this sort of thing, they were polo neck ribbed wool things with a piece to cover the upper neck and chest to tuck under the open reveres or lapels of a coat.
Less bulky than a scarf but just as warm and practical? ''Befje'' they were called...
Like I said I'm stopping here and sewing fleece on the inside and adding buttons and button loops to the back to wear with my coat in winter.
I'll share the finish with you later this week?
OR you could continue on with the pattern!
Beware in row 15 you need to start using DOUBLE trebles, so yarn over twice before starting ad again do write out the sequence for the tricky rows: 15,16,17,19,21,23 etc or break it into sections which you can understand and all will be well!