Sunday, 13 November 2016

First time using an overlocker to make a garment- conquered the FEAR!

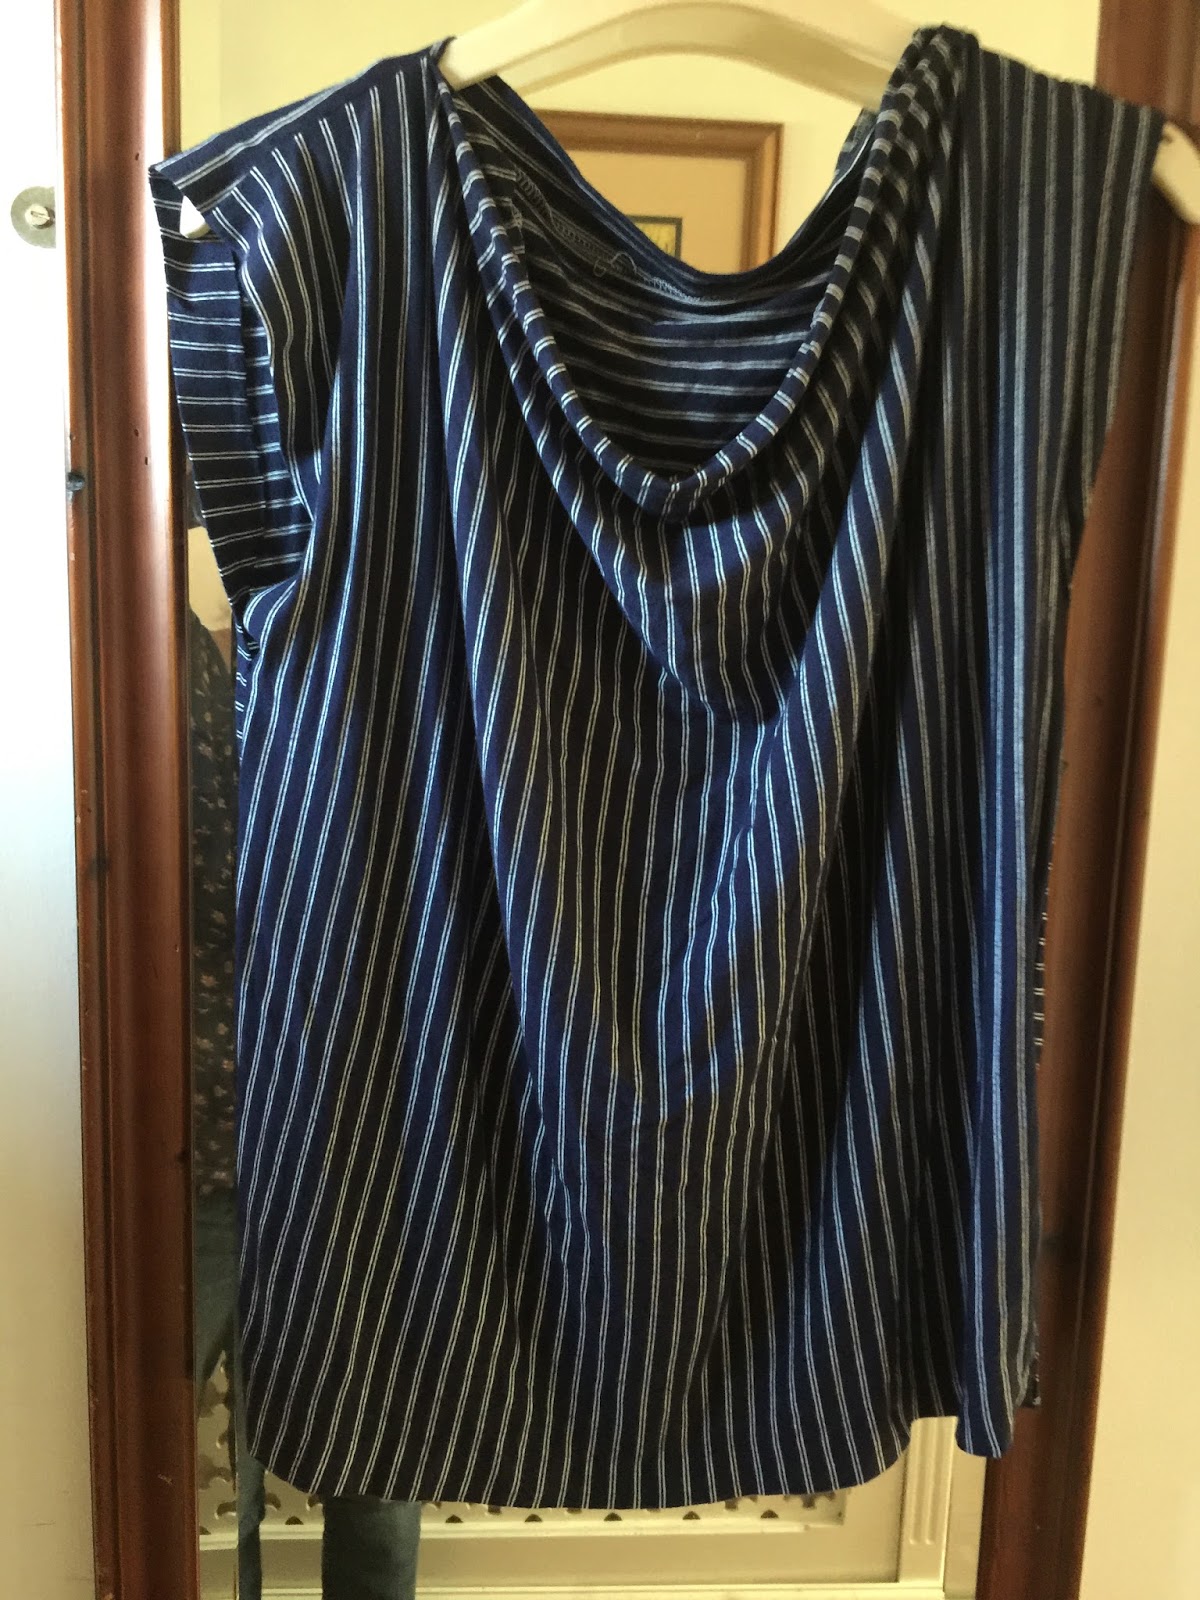
A cowl jersey top from a magazine article pattern in SEWING STYLISH seen somewhere in August 2016. It's two rectangles really.
Finally conquered the fear I had of the new overlocker I got for X-mas last year. I did sew by about June, 6 months later! First it was samples and so on and I HATE the noise it makes but the sewing is so good and the speed is amazing.
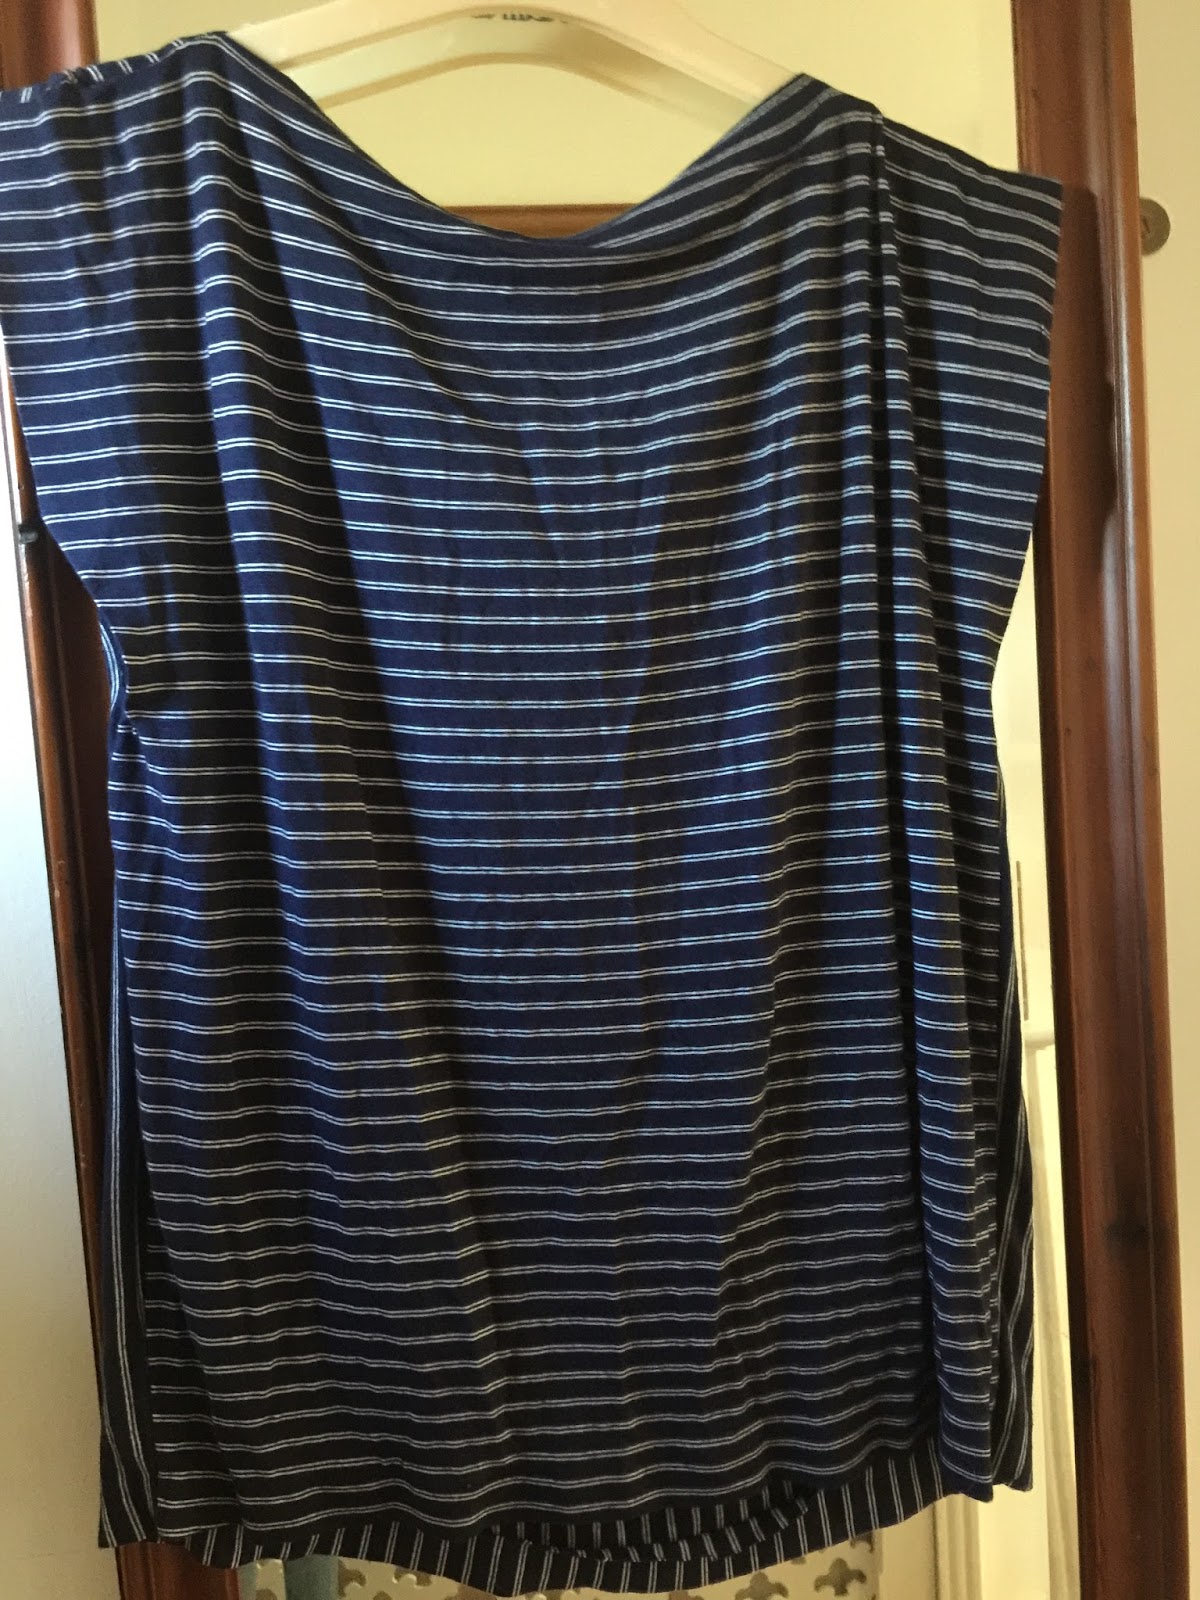
Back of the top. Loose and perfect for work or dancing. Cotton jersey. Very fine.
 
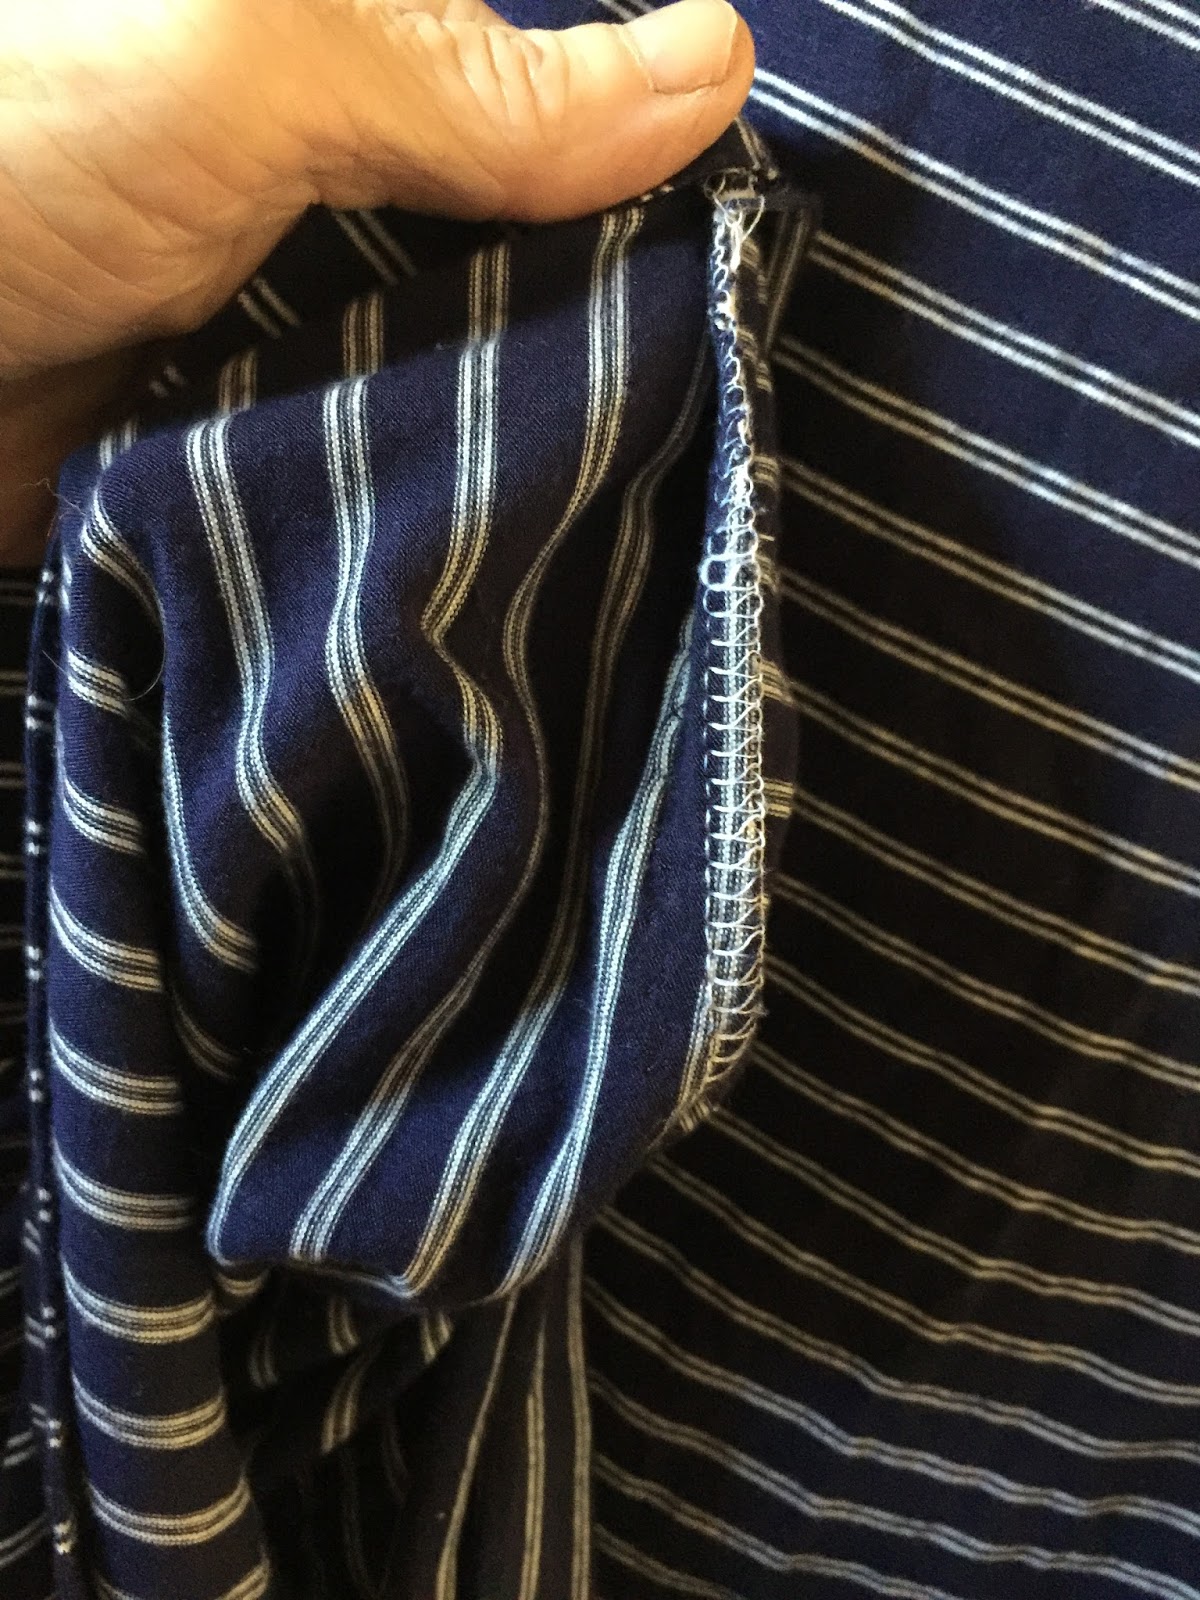
Neat overlocker stitching and finally have hand finished the ends and sewn them in neatly.
those long overlocker twisted bits you have to have.

It's simple I know but am quite proud of this anyway.

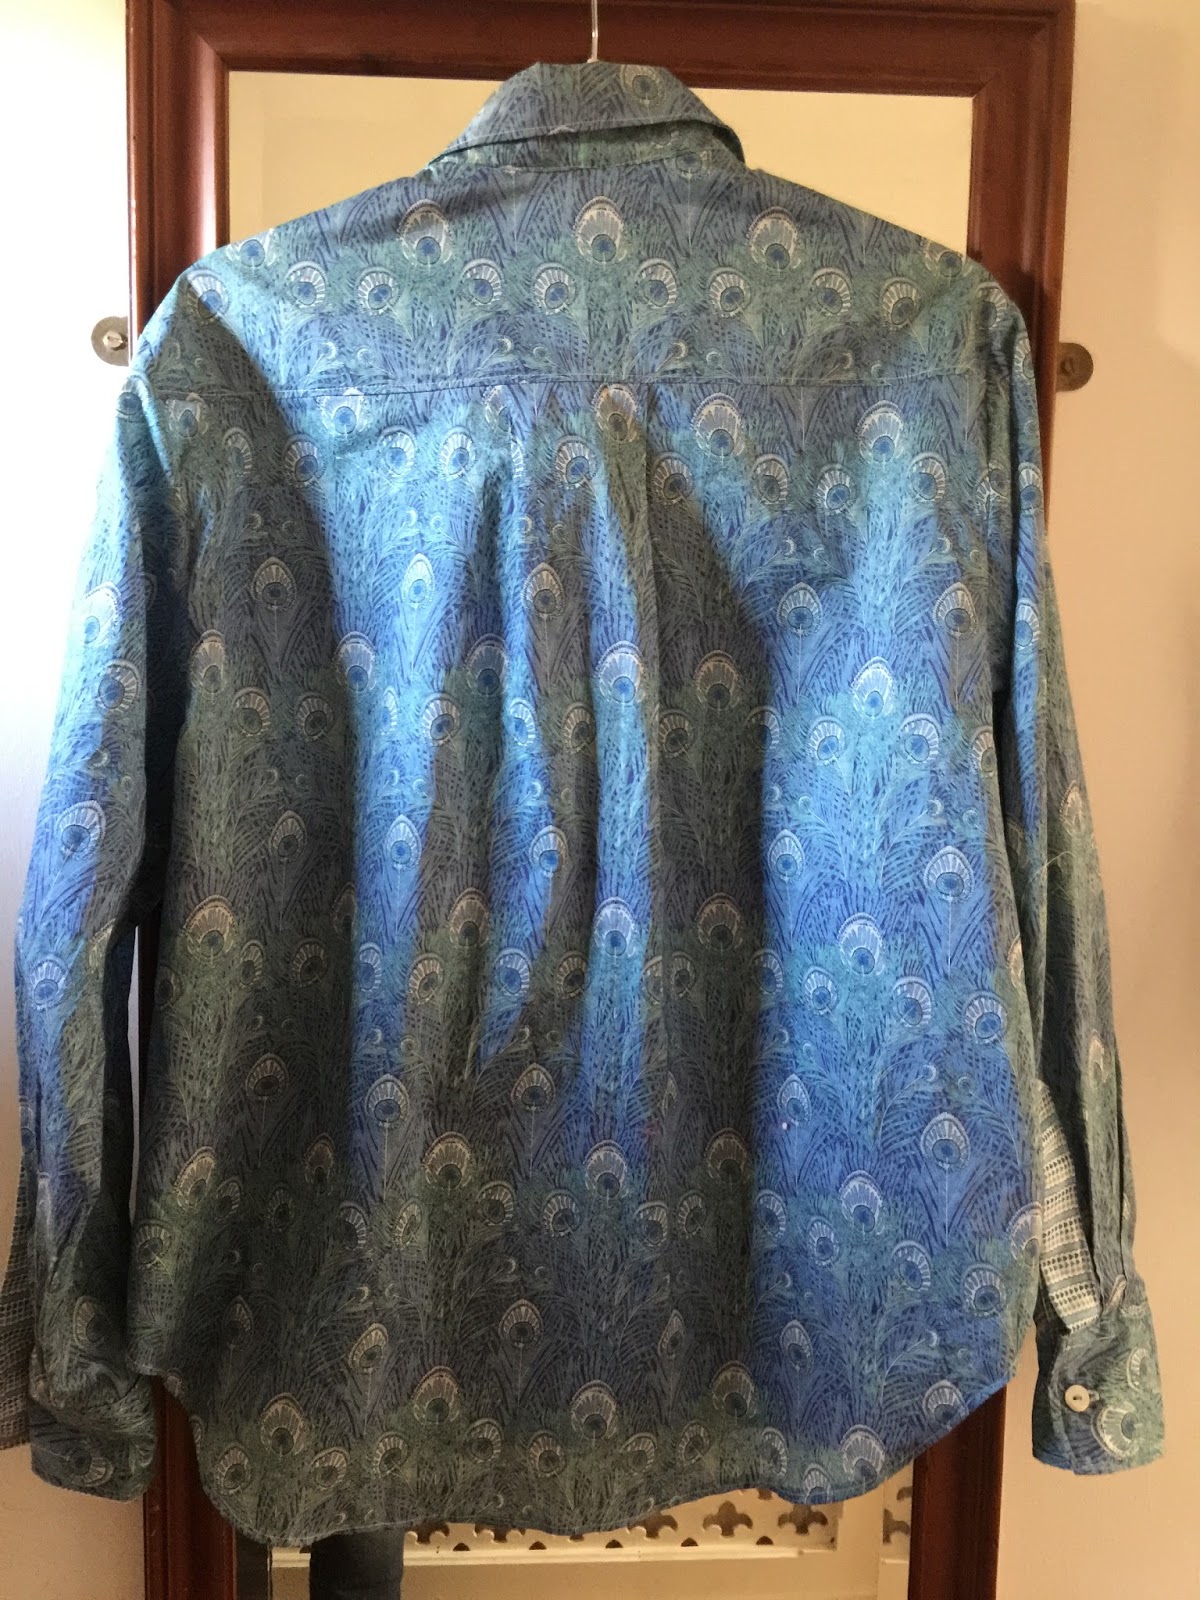
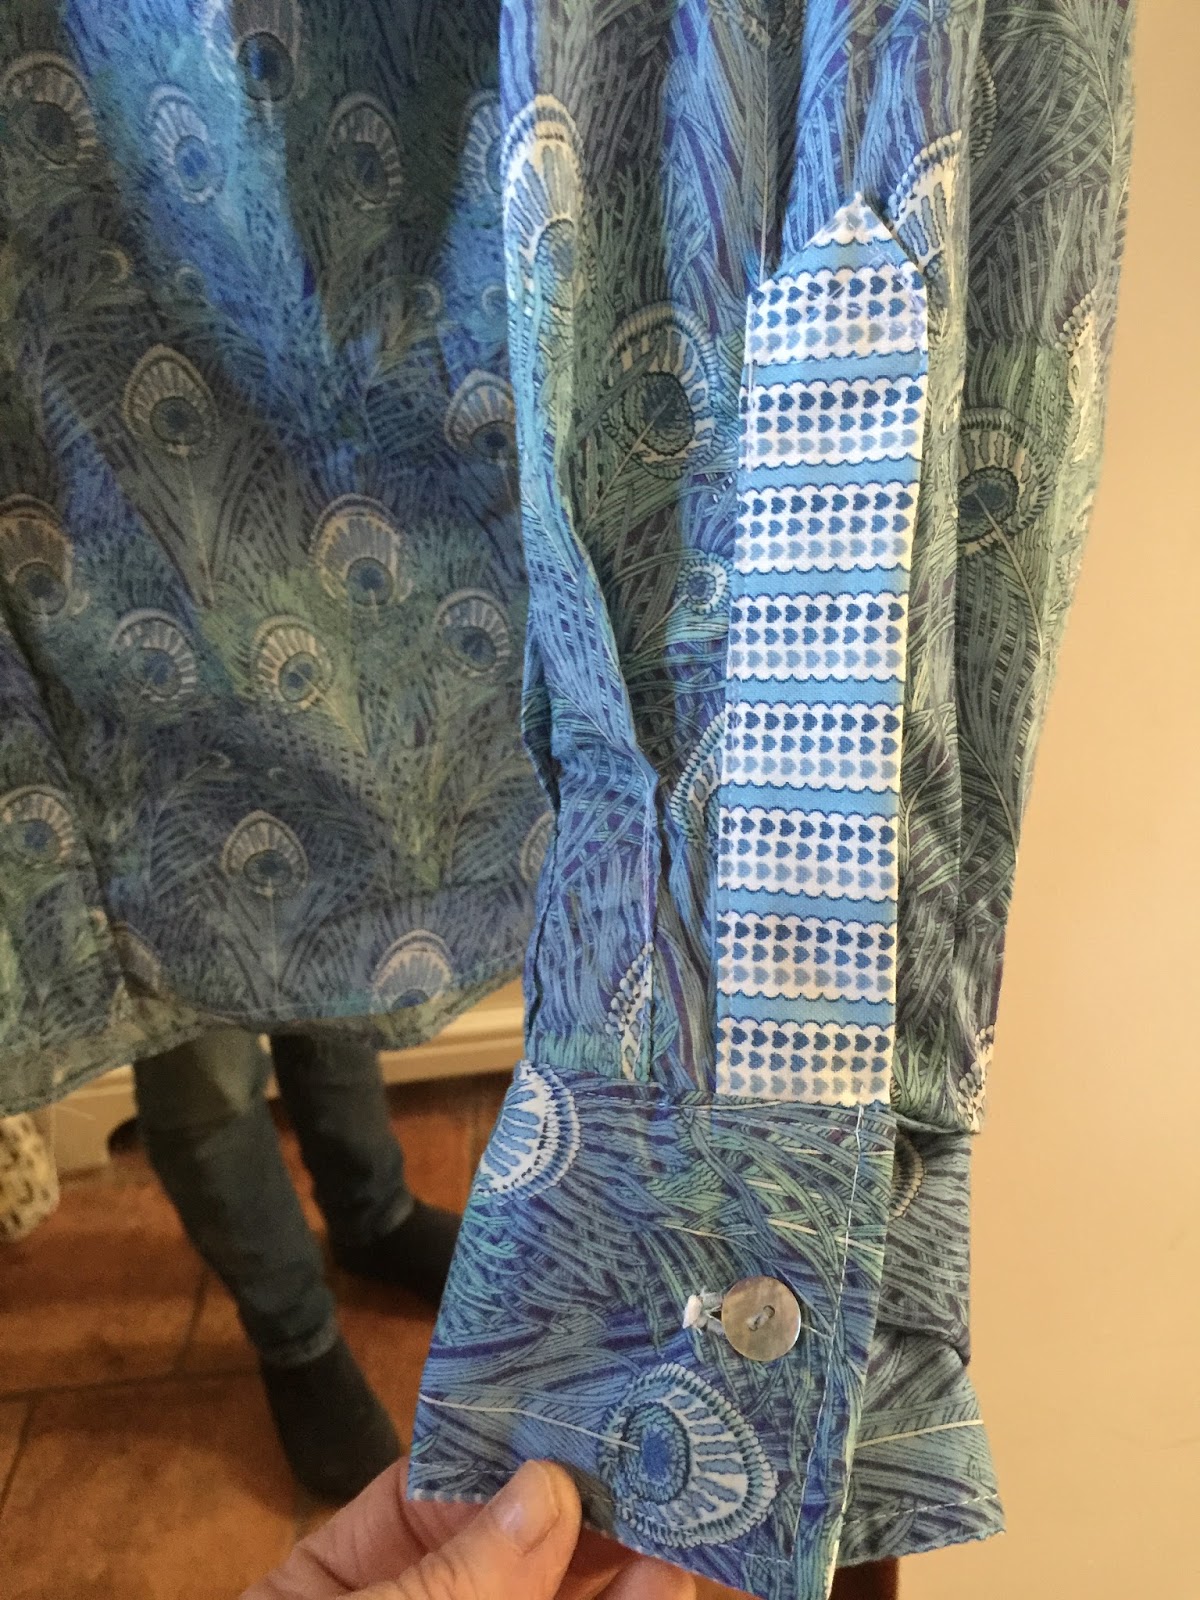
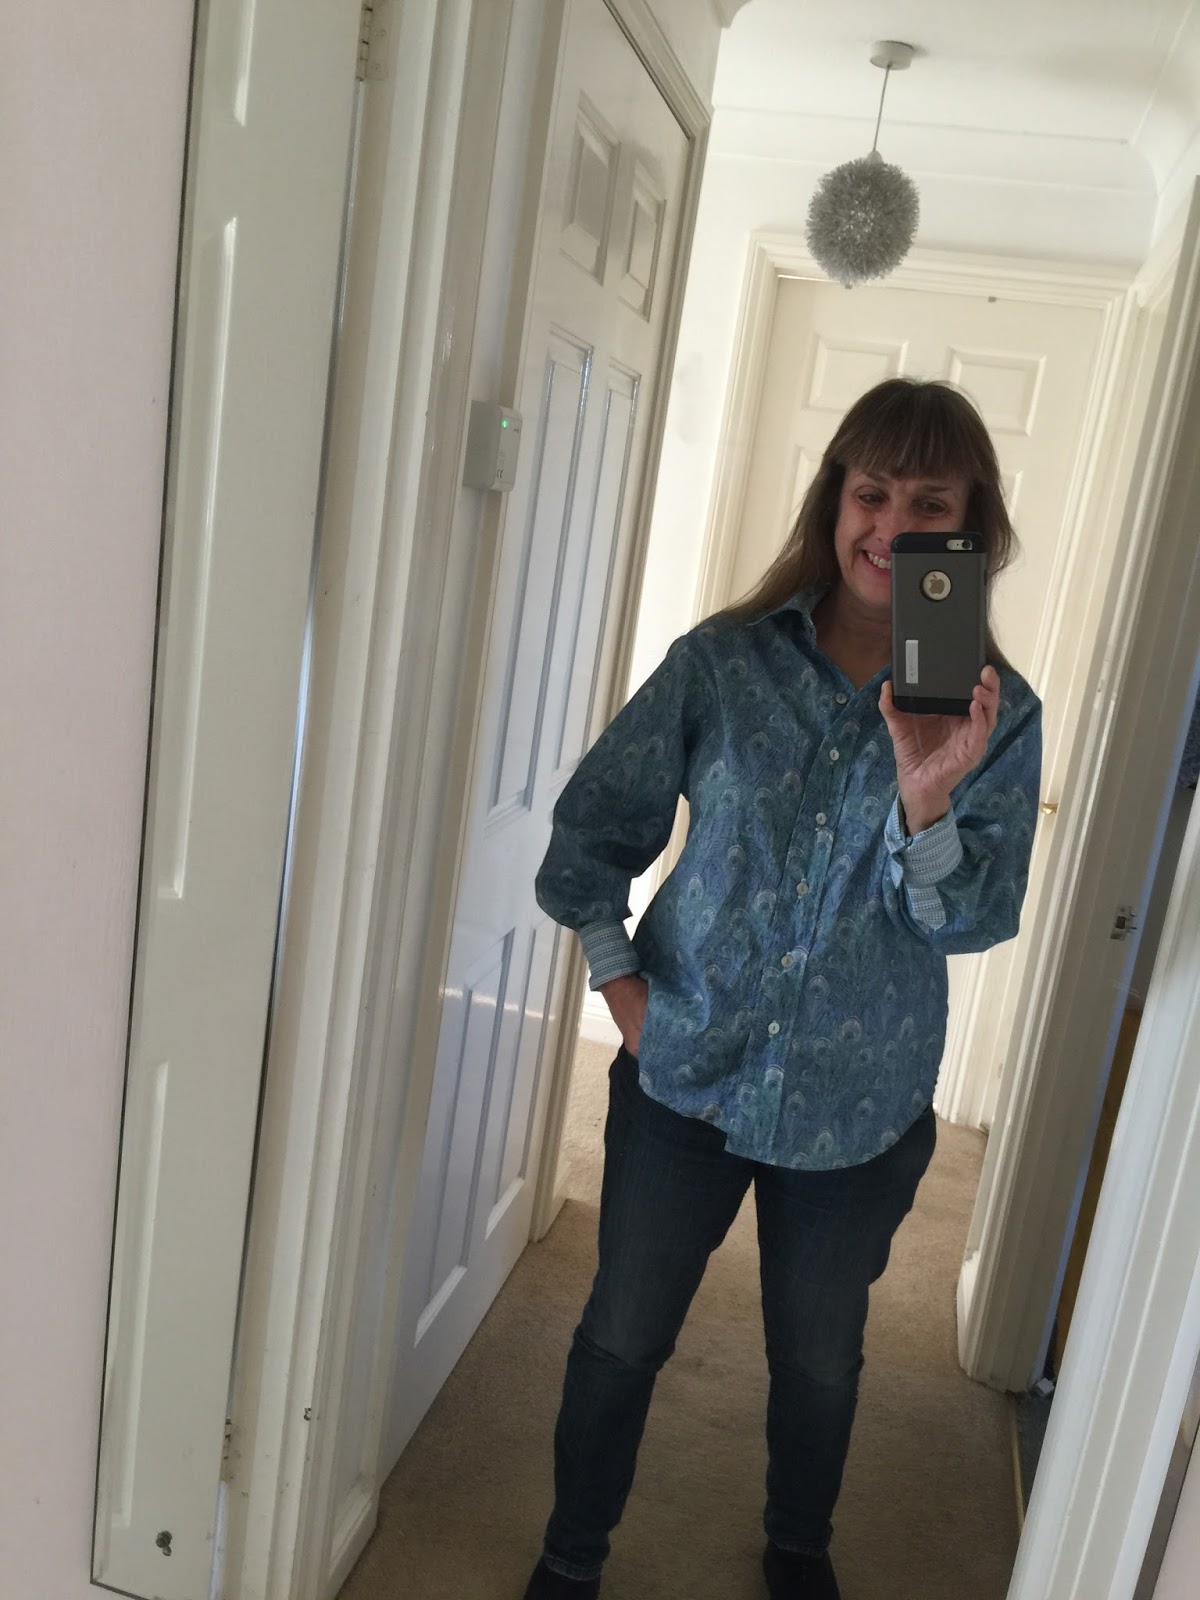
A Liberty Print Shirt - back to a bit of sewing.

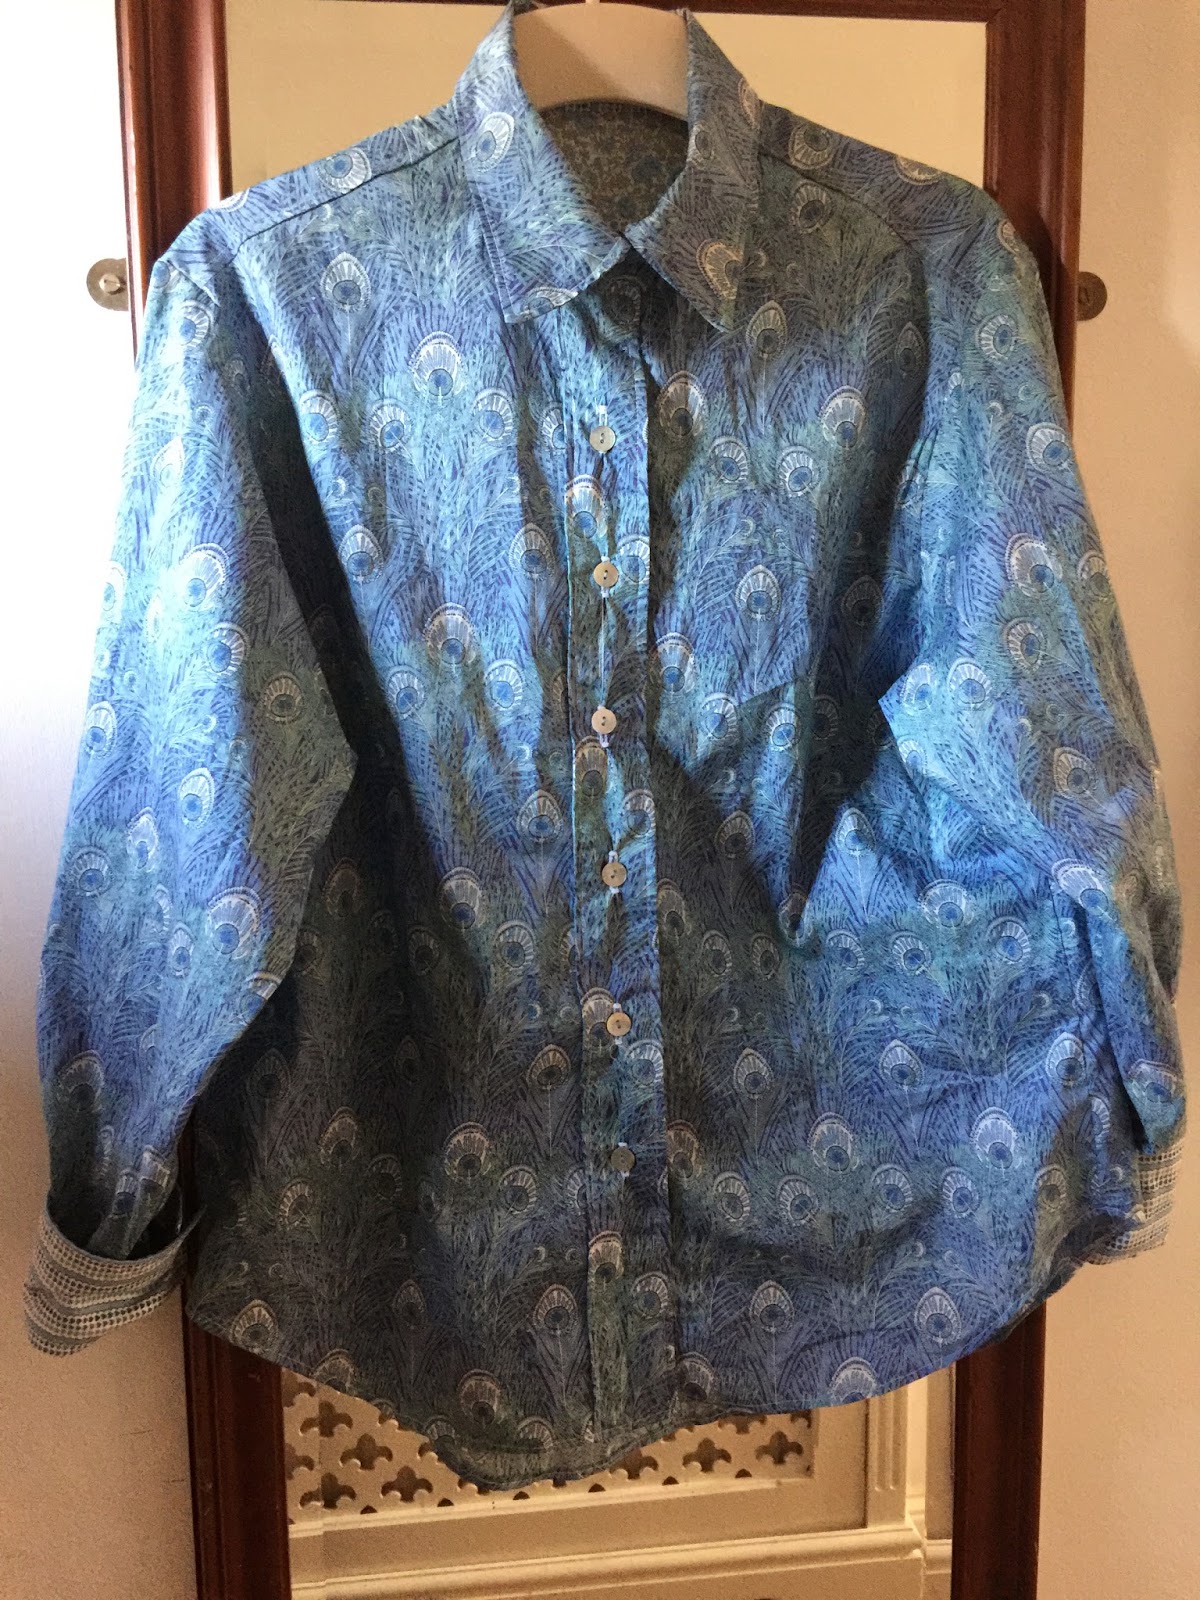
For many years now I have yearned to make a Liberty print shirt and I had the fabric in the attic for many years, bought in the 1990's for a summer dress I think.
Then finally the other month I just DID it. I used VOGUE pattern 9127.
I made a fixed collar and cuffs instead of the changeable ones.
 
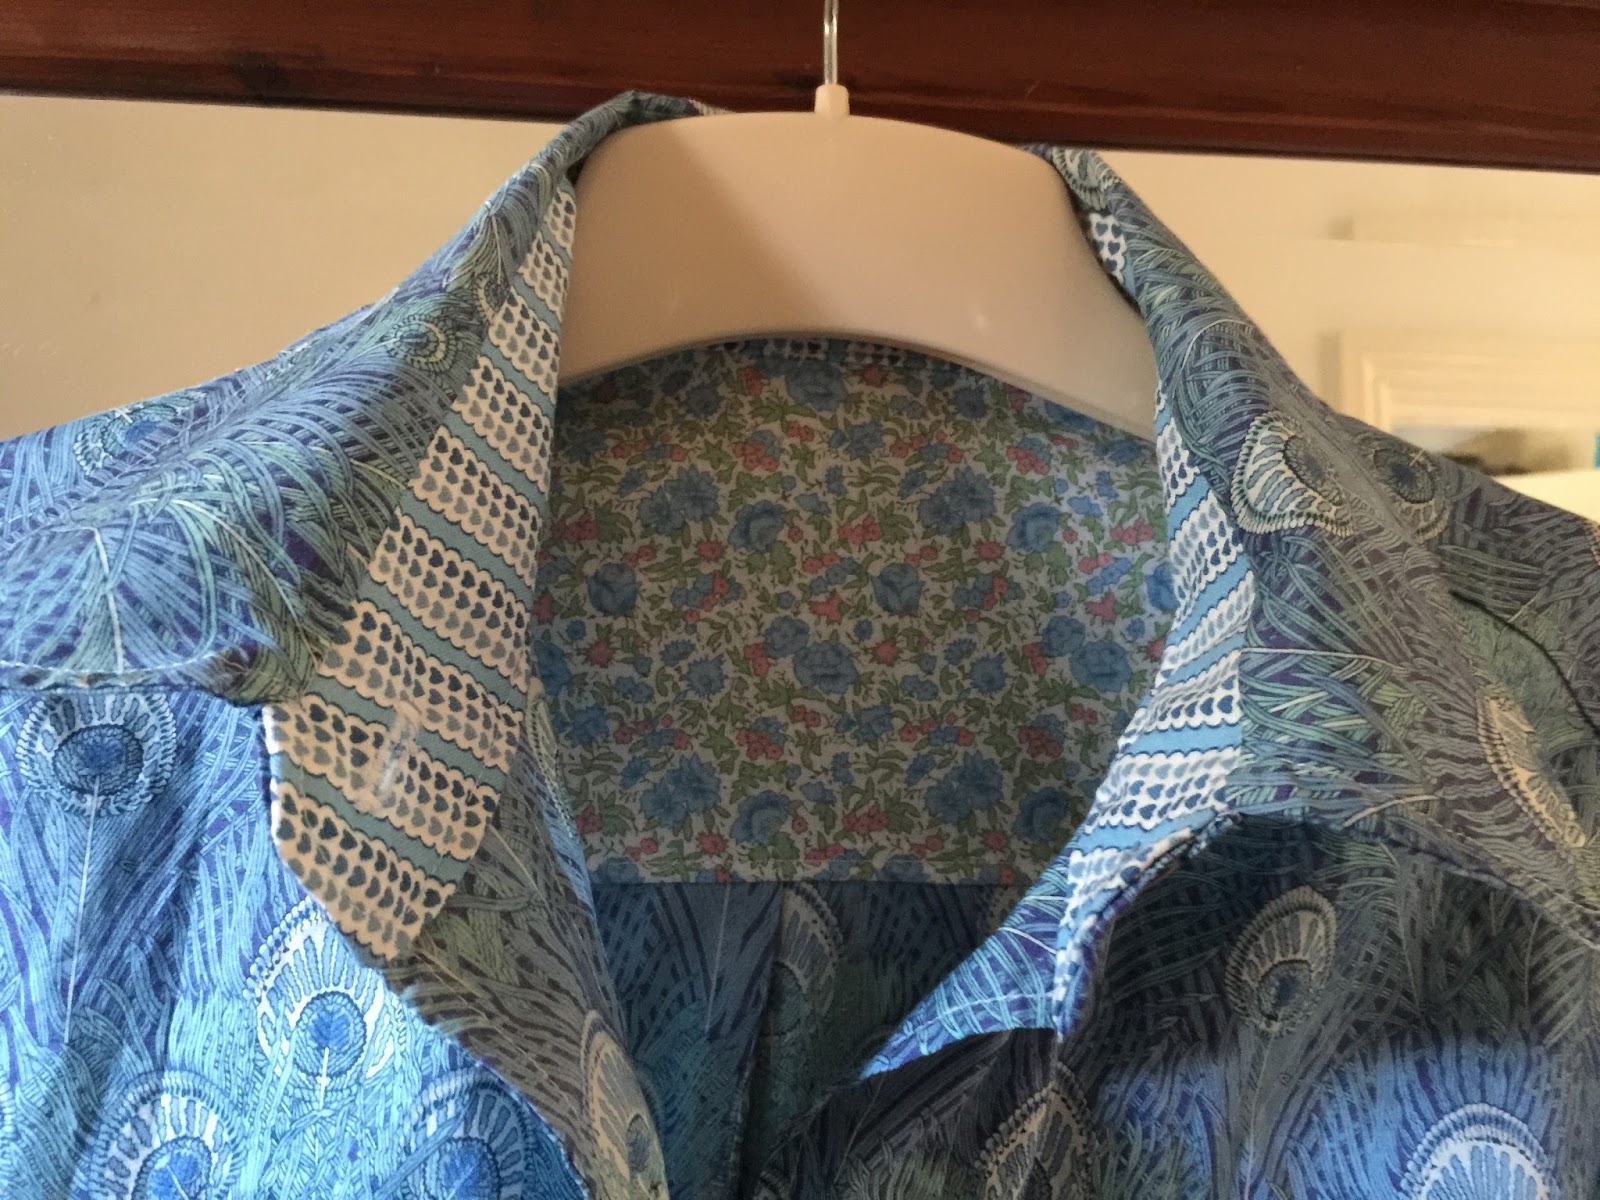
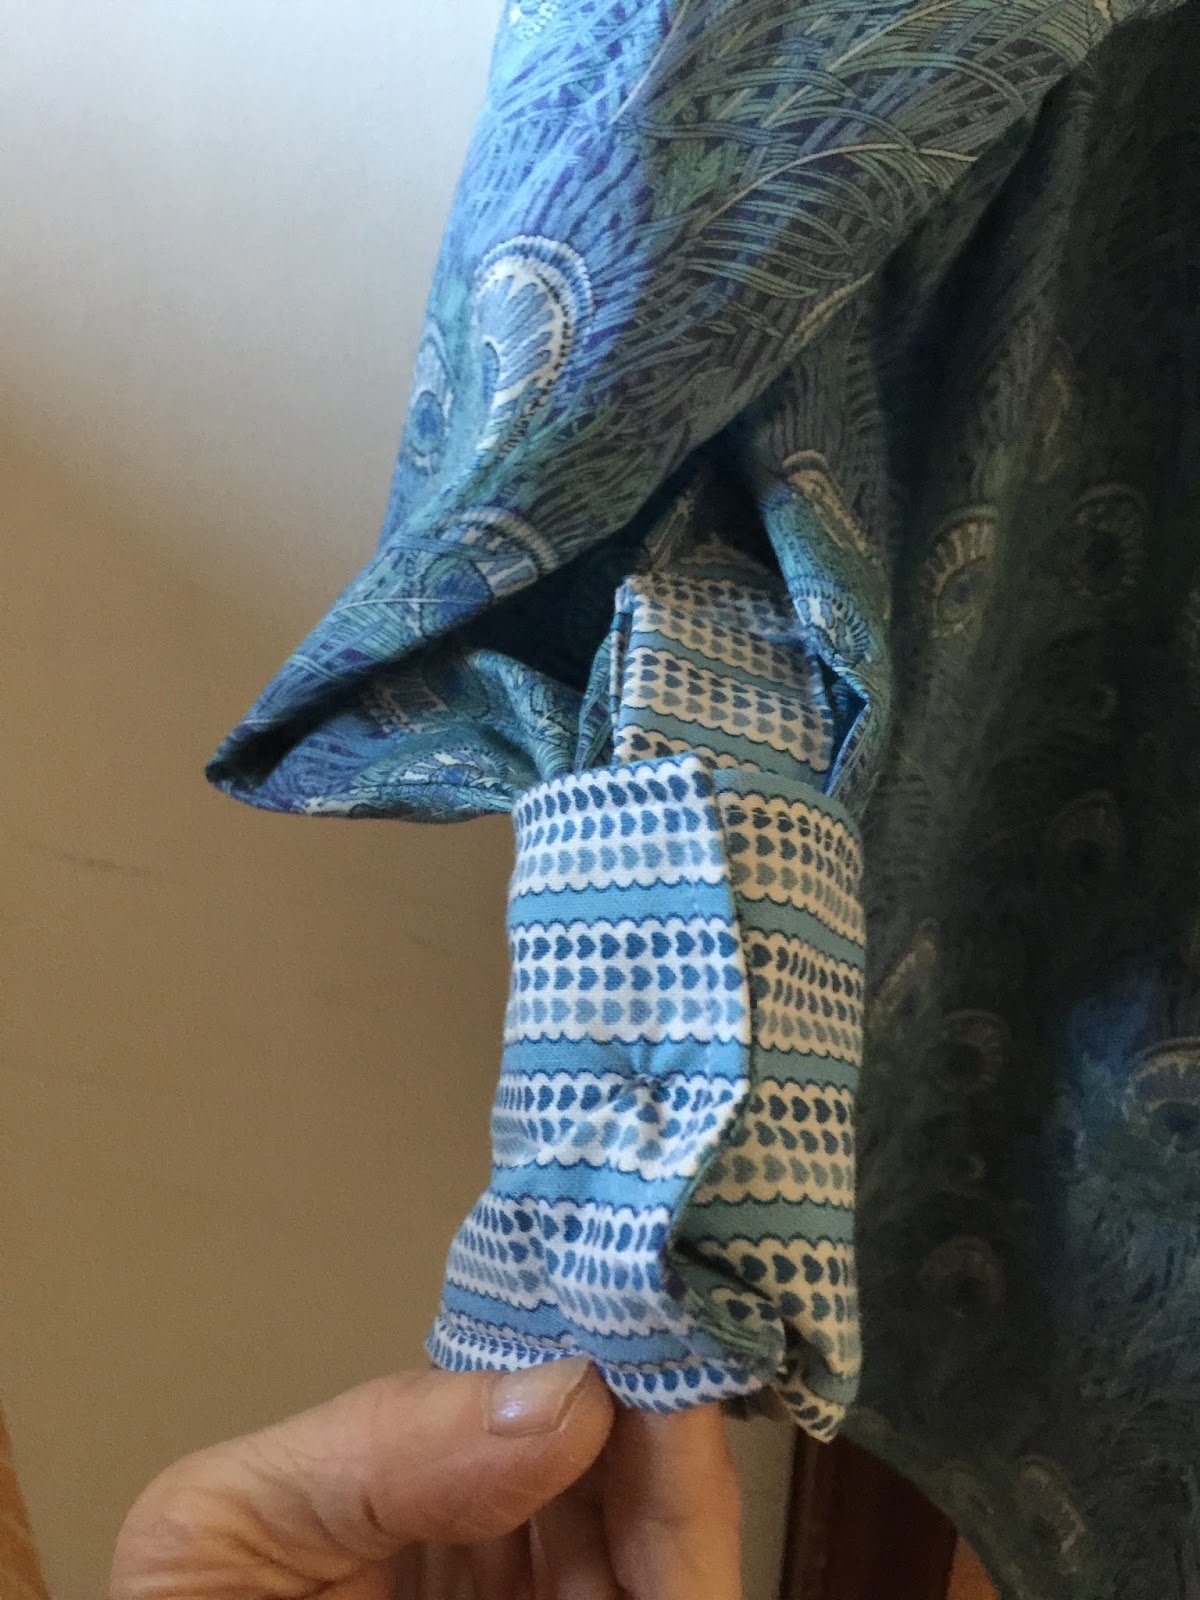
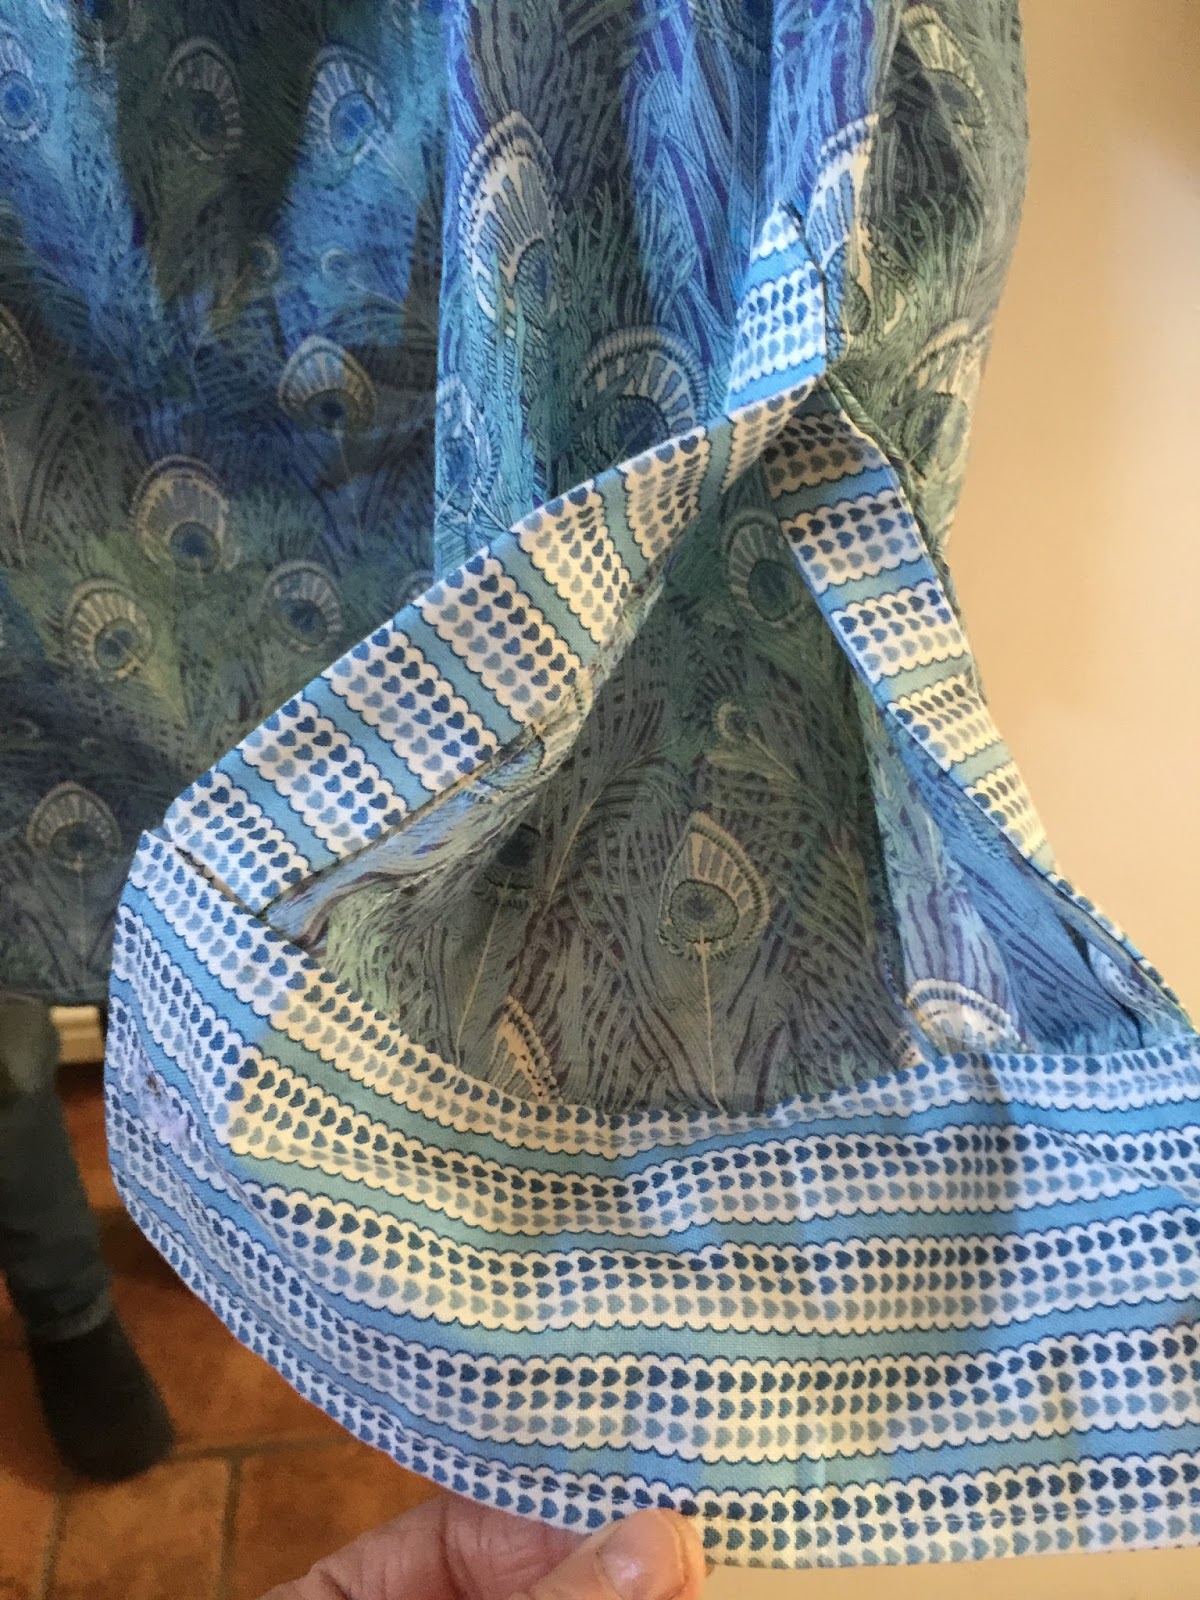
I added a contrast as the inside yoke and the inner collar stand and cuffs sort of Boden style.
Although way back in the 1980's when I sewed shirts I used to add contrast collar, cuffs and front bands too.
The sleeve placket is beautifully designed but a bit wide and big for me.
Possibly also because I did this in contrast also.
 
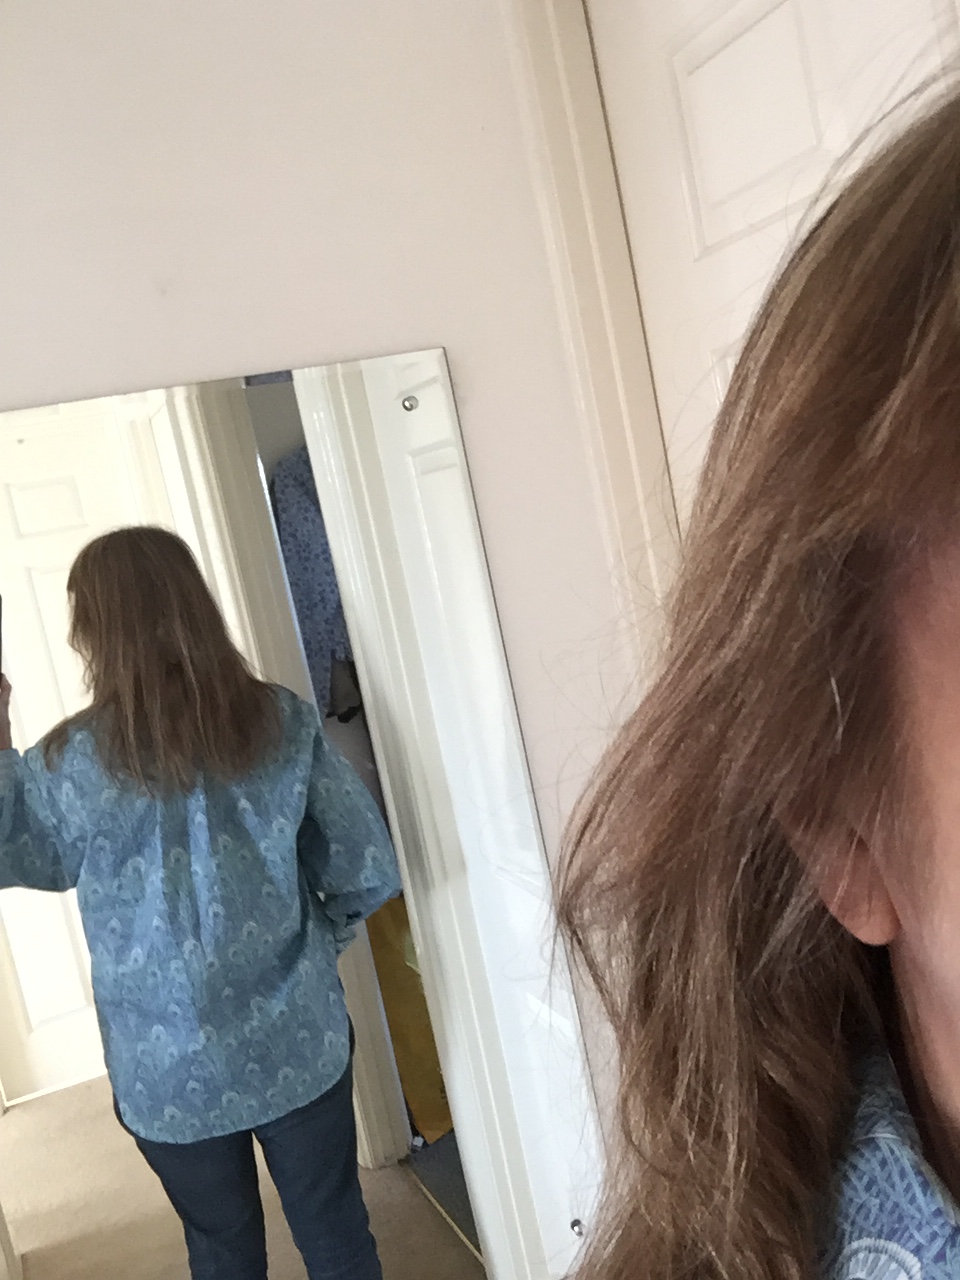
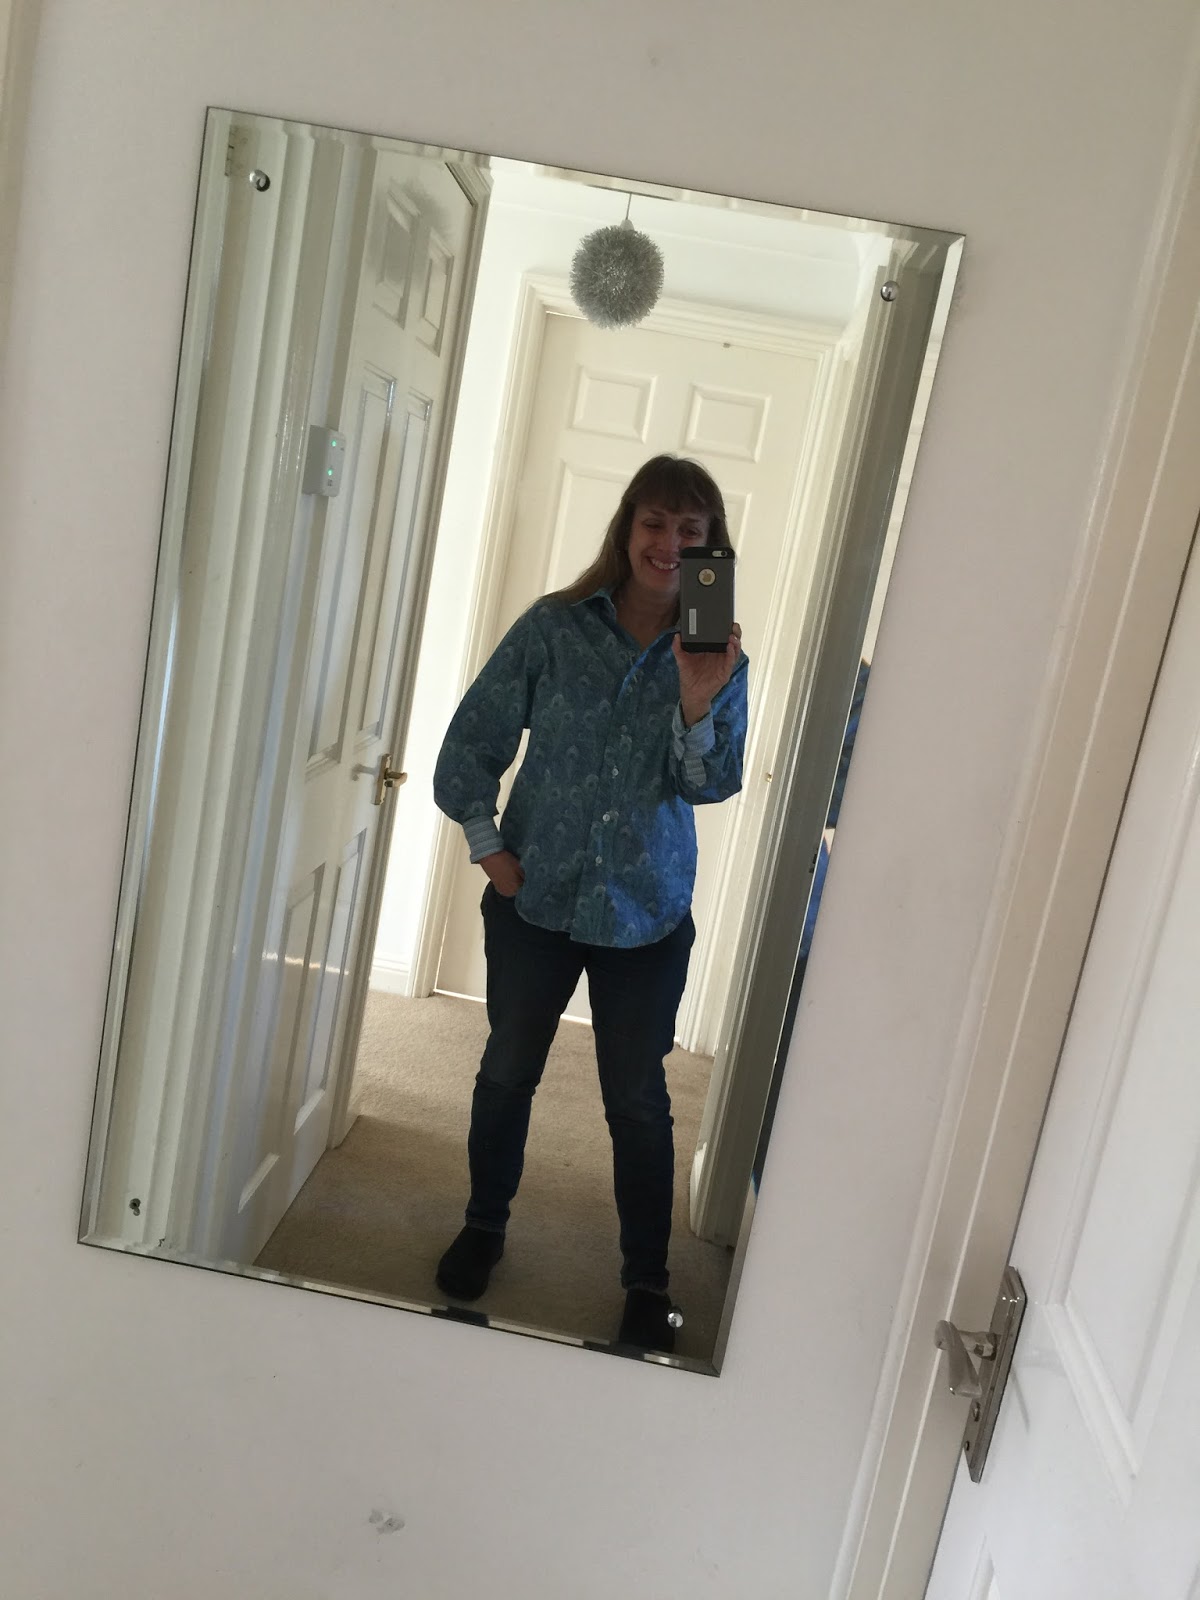
 It's a superb fit and really comfortable. I made a size 12 and it's a ''very loose fit'' Vogue patterns style.


 And am loving the tortoiseshell buttons!!! Quite proud of my sewn buttonholes for the first time in many years also.


Colourful African flower crochet bag

Hi there, today is a brief interlude of colour before we continue the cabled throw.
I made this as a ';'dog walk bag'' as the old one of granny squares made in 2005 finally fell apart with all the chewing and use it had over all those years...
This is made of African Flowers for which the pattern can be found here:
http://heidibearscreative.blogspot.co.uk/2010/05/african-flower-hexagon-crochet-tutorial.html

https://www.google.co.uk/search?q=AFRICAN+FLOWER+CROCHET&espv=2&biw=1536&bih=1101&tbm=isch&imgil=8Tu5ZsKA7edmOM%253A%253B_OZXvxh8o3ERVM%


I used DROPS Paris cotton yarn and a 5mm hook.
I attached the hexagons in the as-you go method at the corners but then sewed the sides together also as I wanted a solid fabric for this bag.
The bag will hols a water bottle and bowl for the dog, my phone for music as we walk and ''pick-up'' bags...

For the lining I drew around the connected hexagons 
onto some lining fabric I had with a water soluble pen. I added a 3 cm seam allowance all around and sewed a strip - 8 cm wide  and the full circumference of the top of the bag -folded in half and seamed into the top of the inside for the drawstring.

For the across the body long strap I crocheted a chain and then worked a ladder of 1 ch and a double treble repeated across the length with a dc row to finish.
I sewed a fabric lining strip to fit into the ladder gaps and threaded it through then sewed in the ends and sewed this to the sides of the bag.

The hexagons laid flat.


Here are the colours I used, I do not have all the labels but for the ones I have these are the colours from DROPS PARIS:

 
 FROM LEFT TO RIGHT:
dark turquoise = colour 10
pale turq.= 02
royal blue=09
olive green
deep pink
bright pink=06
deep coral=38
paler coral
The 2 hexagons at the top form the flap of the bag.
I crocheted the sides together with the dark pink.
And made a cord by chaining and slip stitching back to the start chain.
A small dc square sewn together is the guard section that holds the drawstring cord.
These were fed through the channel sewn into the lining and the ends knotted.
 front
back
 
the lining is rather fun too...
 
the lining was hemmed by machine and then hand slip stitched into the crocheted completed bag.


VOILA! A colourful fun new dog walk bag!

Sunday, 23 October 2016

BUS AT CAL Square 15: FLAT TRAMLINES.

 Square `15 is not at all texture and has no relief, it is flat. However it introduces a fun new stitch which you may not have come across before and the flatness serves as a nice contrast to the other squares. Above is the front and below is the back or reverse view, they differ.
 

 close up view of the back view: this almost looks knitted or an unusual weave.
Close up view of the front, can you see the ''tramlines''?

The new stitch used is the LINKED double treble. It makes it grow very fast and is a nice flexible flat fabric as a result of the way it is worked.
It will be abbreviated to LDTr.

With 6 mm hook chain 17 and then change to the 5 mm hook and chain 4.
Row 1: first stitch of the row: insert hook into 2nd ch from hook and pull up a loop ( 2 loops on hook)
insert hook into 3rd ch from hook and pull up a loop ( 3 loops on hook), insert hook into 4th ch from hook and pull up  a loop( 4 loops on hook), now yarn over and pull through 2 loops at a time , three times, first LDTr made.

For the next LDTr and every next LDTr in the row you use the horizontal strands that have now appeared on the LDTr worked.
See Photo where 2 pins indicate the loops where the hook is inserted before pulling up a loop.
The green pin loop is used first followed by the red pin loop and then the hook is inserted in the next stitch for the final pulling up of a loop, when there are 4 loops on the hook they are worked off in pairs, YO and pull through 2 loops at a time, 3 times.

After inserting the hook in the first loop- green pin- yo and pulling up a loop.

Inserting hook under second loop on previous LDTr.

After yo and pulling up a loop.
Now inserting under the loops of the next stitch , as in photo.
then yo and pull up loop: there will be 4 loops on hook.
4 loops on hook stage.
yo and pull through 2 loops: 3 loops left.
yo, through two loops and then 2 loops left.
yo and pull through 2 loops: 1 loop left and the linked double treble stitch is completed.
Repeat across the row until 18 LDTr completed.

Row 2: ch 1 and work a dc into each of the 18 sts., turn.
Row 3 is as row 1, the first stitch however is slightly different: ch 3 and use the 2nd and 3rd ch for the start of the loop collecting, then insert into the stitch at the base of the chains and use that to collect the 4th loop, then finish the LDTr as before, the next LDTr are all worked as described above with photos in row 1.

Repeat row 2 and 3 until the square measures 15 cm, ending on a dc row.

BUS AT CAL square 14 : TEXTURED WEAVE stitch square

This is the next square , really square 13 but we have used that for the optional bobbles one so here we are at number 14 already.
This one is very simple and does not introduce anything new but I have to admit it was fun for me as it was NEW to me as although I knew the stitches I had not used them in this order before so it was a lovely exploration with a pleasant surprise at the end.
It's very textured indeed, looks the same from both the right and the wrong sides and I mentioned weaving in the title as it looks as if it is woven.
In simplistic terms it's a 1 by 1 basket weave: alternating FPTr with BPTr and then doing the opposite on the next row.

Foundation: chain 18 with 6 mm hook.
Row 1 : set up row: change to 5mm hook and work 1 ch then a HTr into the 3rd ch from hook and all across the chains, 18 HTr made.

Row 2: ch 2 - does not count as a st-, then work a * FPTr round the body of the first HTr below, and a BPTr in the next stitch **, repeat from * to ** to the penultimate chain: 17POST Trebles made, work a HTr in the final chain.

Row 3: ch2, work  a BPTr round the first stitch which should be a FPTr in the stitch below, then work a FPTr round the next stitch ( a BPTr in the row below) , repeat to the end and work a HTr in the final stitch. ( 18 sts)

Repeat rows 2 and 3 until the square measures 15 cm. You  probably should end on an even numbered row if your gauge/tension is similar to mine.

Fasten off and leave a long end for sewing in later.

Depending on your blanket design, you will need at least 4 of these squares.

Friday, 7 October 2016

Extra BUS AT crochet along square-optional all over Bobbles SQ 13

Optional extra square- all over bobbles that came about almost by accident when I was thinking of doing the meandering bobbles additional squares.
It can be number 13 as I do not like this number and my eldest does not really like bobbles so it's unlikely that this one will be included.
It's quick, fun and highly textured so I do love it.


This is how it goes:

Foundation: 6 mm 18 ch, change to 5 mm hook and ch1,
Row 1: work 18 dc along the row, 1 in each chain starting from 2nd from hook.

All even rows will be bobble rows..They will use 4Tr bobbles as explained in detail in the post for the berry bunches. If you like really large bobbles, even 5 Tr bobbles do work well here.

Row 2: ch1, 1dc, 1 4 or 5 Tr bobble in next st*,3 dc - one in each st- Bobble  in next stitch ** repeat from * to **twice more and end with 1 dc in each st for 4 stitches. ( 4 Bobbles made)

Row 3 ( and all odd rows to follow) ch1, work 1 dc in each st across, 18 dc.

Row 4: ch1, work 1 dc in each of the first 4 sts, Bobble in next stitch, repeat from * to ** as in row 2 three more times, finish woth a single dc in the last stitch.

Row 5 is the same as row 3.

These rows 2-5 form the pattern and are repeated until there are 9 rows of bobbles  and ending on an odd numbered row.

BUS AT CAL square 11: Berry Bunches.

Bath University Sampler Aran Throw  Crochet-Along SQUARE 11: Berry Bunches.


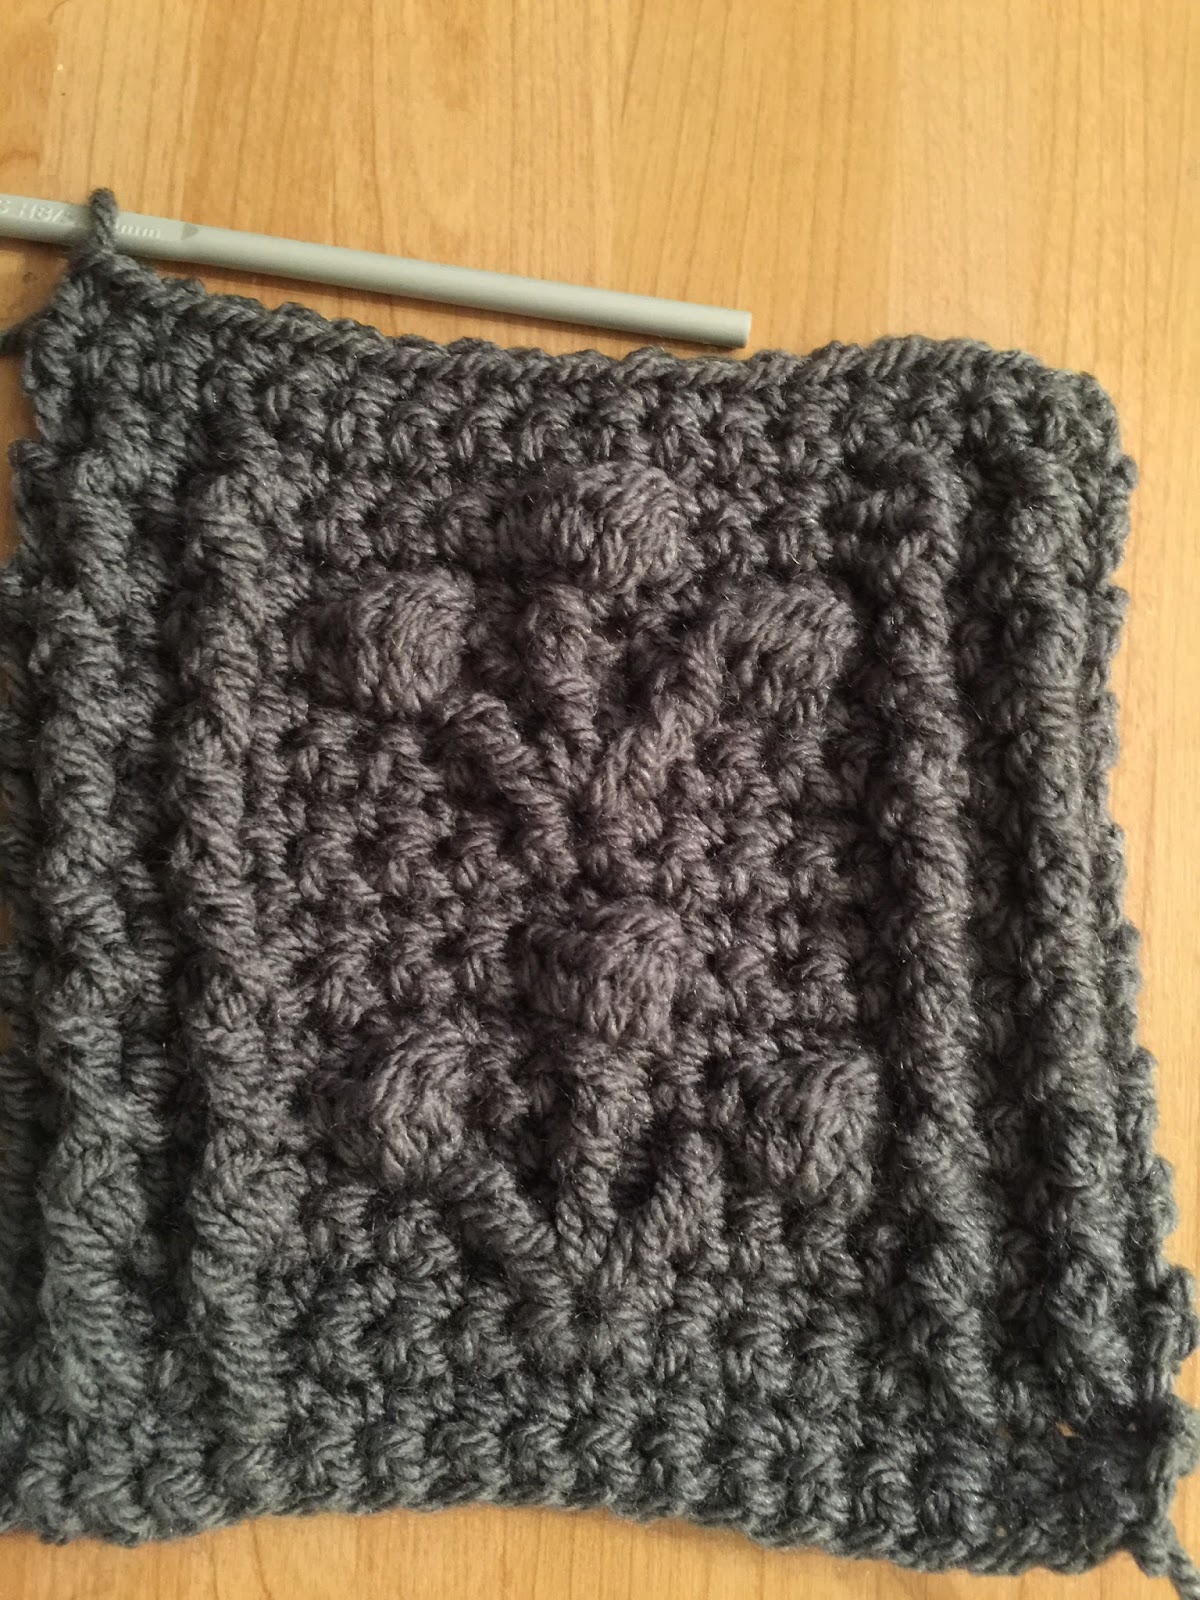
This is a very pretty square with two bunches of berries defined by vertical tramlines either side and therefore does require a lot of concentration. For ease of working I have drafted a rough diagram but this is to be used for the berries and branches, not so much for the posts/ tramlines as I had not yet decided where they ran when I made the diagram.

The tramlines are worked on both sides in that there's no break they are FPTr on the front side and BPTr on the reverse but the berries are  worked on  the odd  rows  for the branches and then the even or reverse side rows for the actual berries ( because they are bobbles) and the rows in between are simply all dc across - except for the tramlines of course as explained above.
Berry branches up close.
The reverse side of this square.
The rough diagram, I hope it helps a bit. The row numbers do not exactly correspond with the pattern written instructions below, USE THE WRITTEN ONES please.

The berrybunches panel is 9 stitches across and starts at stitch 5, there are 4 stitches either side ( these form a repeating border pattern) so unusually this square has only 17 stitches.  This is needed to have the central berry sitting in the centre, which requires an odd number of total stitches.

Foundation: ch 17 with 6 mm hook, change to 5 mm hook and ch 1.
Row 1: work 17 dc in 2nd ch from hook to end.
Row 2: ch 1, work 1 dc, next work  FPTr round the dc in the row below, dc in next stitch and FPTr round dc in row below for the next stitch,  these 4 stitches form the border.
Then work 1dc in each of the next 4 sts, ch 1 and skip the next dc, work 1 dc in each of the next 4 sts and that sets the scene for the berry panel in the middle( 9 sts),  then work 1 FPTr round the dc in the row below, 1 dc in next st, 1 FPTr round the dc in the row below and 1 dc in the final stitch, this forms the border on the other side. Row finished.

Row 3( and all odd rows will be the reverse side of the square).
On reverse side the post stitch tramlines of the border will be worked with BPTrs and the bobbles will be worked as per the diagram but for the rest the stitches are all simple dc.

So: row 3: ch1, work  1dc,* 1 BPTr, 1dc, 1 BPTr **, then work  9 dc across, working 1 dc into the central ch space made in row 2, then repeat from * to ** and finish the row with a dc.

Row 4: ch 1, work 1dc, ***1 FPTr, 1dc,1FPTr ****, work 1dc in each of the next 2 sts, then work a DTr into the dc skipped in row 2 ( so the loops lying below the chain made above it in row 2), work a dc in the next stitch, then work a Tr into the same loops used for the DTr just now, work 1 dc into the next st, then work a DTr into those same loops again, finish with 1 dc in each of the final 2 sts of this 9 stitch panel, then repeat from ***  to **** and finish the row with a dc.

Row 5  : the two side bobbles are made on this row.
Ch1, work 1dc, repeat from * to ** as in row 3, work 1 dc in next st, work a 4Tr bobble in the next stitch ,1 dc in each of the next 5 sts, work a 4Tr bobble but pickup a thread from the stalk on the front as you do so to make it look connected, then work a dc in the next stitch, for the border repeat from * to ** as in row 3 and finish the row with a dc in the final stitch.

4Tr bobbles are worked as follows: yo and insert hook into selected stitch or loops, yo and pull through the first 2 loops, you now have 2 loops on hook, ( or the equivalent of a half made treble), yo and insert hook into the same stitch yo and pull through first 2 loops as before : you now have 3 loops on hook. 
repeat that process twice more until you have 5 loops on hook ( or 4 half made trebles) , yo and pull through all 5 loops tightly: 4 Tr bobble made! It will pop out on the correct side of the square. 

Row 6: ch1, work 1dc into the first stitch, repeat from *** to **** in row 4 , then work 1 dc in each of the next 4 sts, work a FPTr round the central stalk in row 4, work 1 dc in each of the next 4 sts and repeat from *** to **** in row 4 and finish with a dc in the final st.


Row 7: ch1, work a dc then repeat from * to ** in row 3 , work 1 dc in each of 4 sts, work a 4Tr bobble in the next ( central) st, work 1 dc in each of the next 4 sts, then repeat from * to ** in row 3 and finish the row with a dc.

That finishes the first berries on stalks panel.

Row 8 and 9 are dc across except for the tramlines so the FPTr and BPTr are maintained in the border stitches only.


row 10- row 15 is the same as row 2 to row 7.
Then row 16 is the same as row 8 but the final row is all dc , 17 sts across with the Tch not counting as a stitch and no post stitches at all.

It may come up slightly small and will need stretching at the blocking stage but it does line up well with the other squares .

This is probably the most complicated square in the set. Enjoy!